Food
Add Menu (Food / Drink)
Go to Menu, then select Food, and choose Add New to create a new menu item.
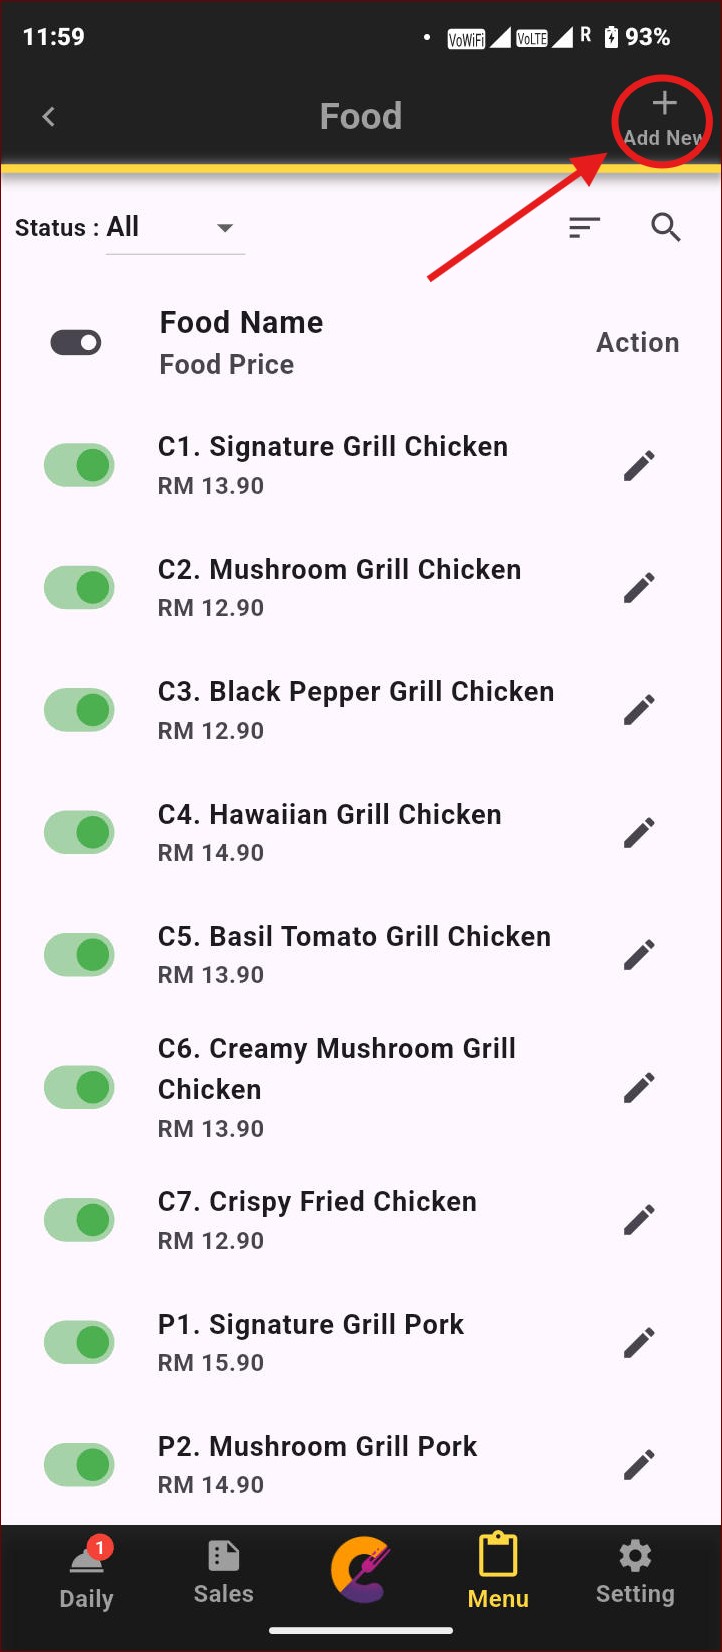
Go to Menu, then select Food, and choose Add New to create a new menu item.
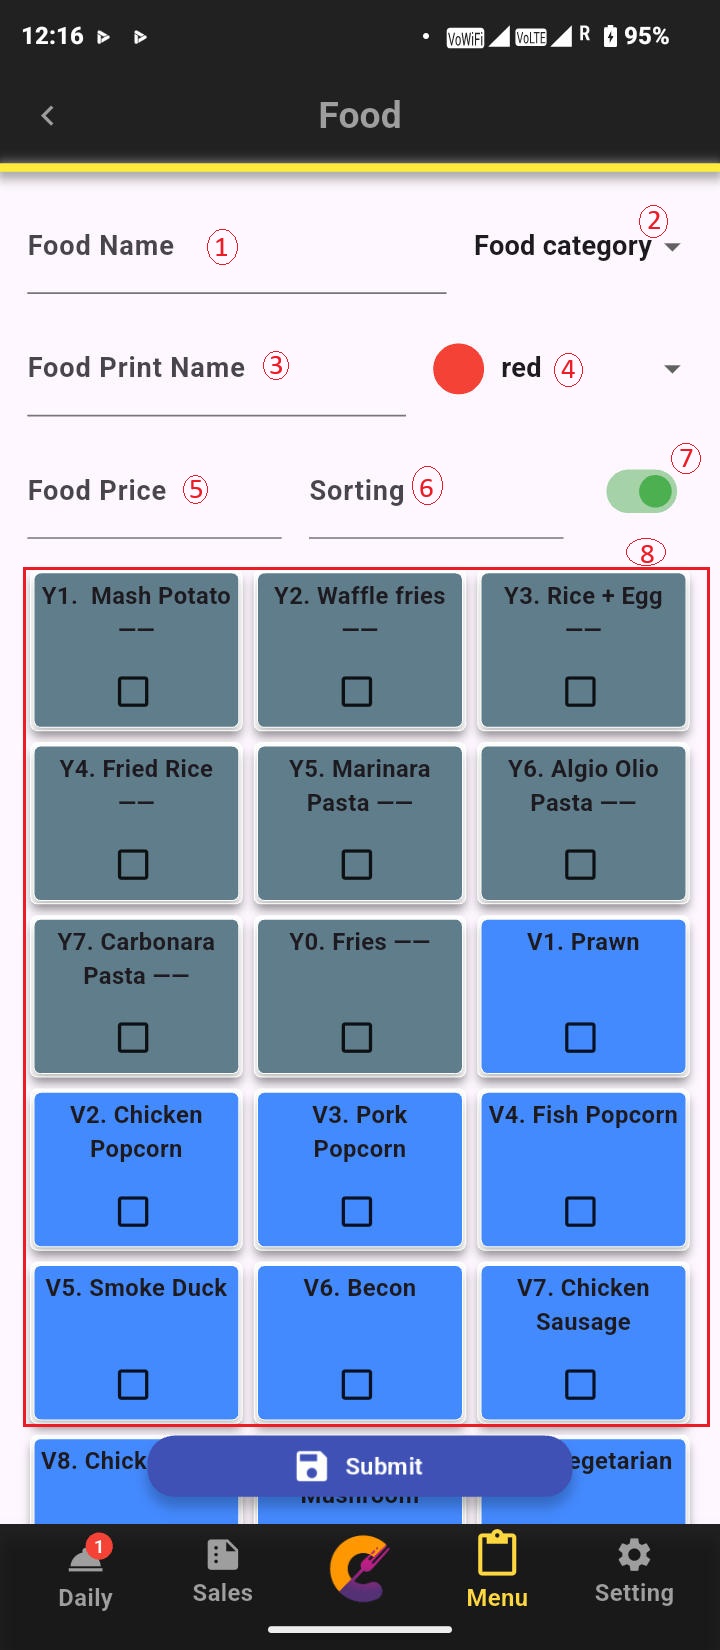
- Food Name = The name displayed on the menu for staff to identify the product.
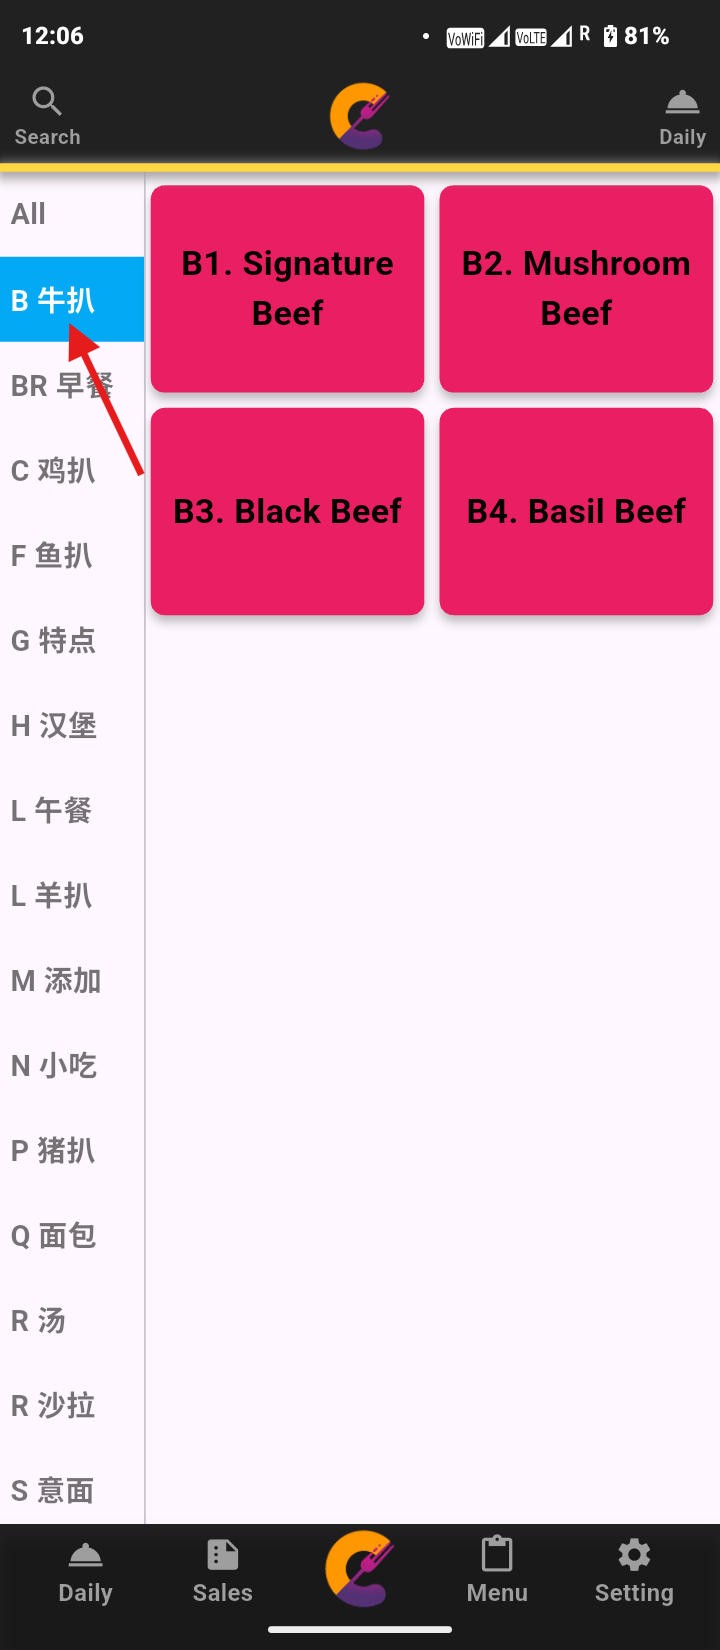
- Category = Allows staff to sort and organize products by category for easier menu management.
- Print Name = The name that appears on the invoice when an order is processed. This may differ from the menu name if needed.
- Color = Assign a custom color to each product to help visually distinguish them in the system.
- Price = The selling price of the product as set in the system.
- Sorting = Set the order in which products appear on the menu for staff to efficiently navigate.
- On/Off = Toggle this setting to enable or disable a product from appearing on the menu.
- Add on = Used for creating combination meals or sets by adding additional items to a primary dish.
Add Side Dish (Add on / Combination Meals)
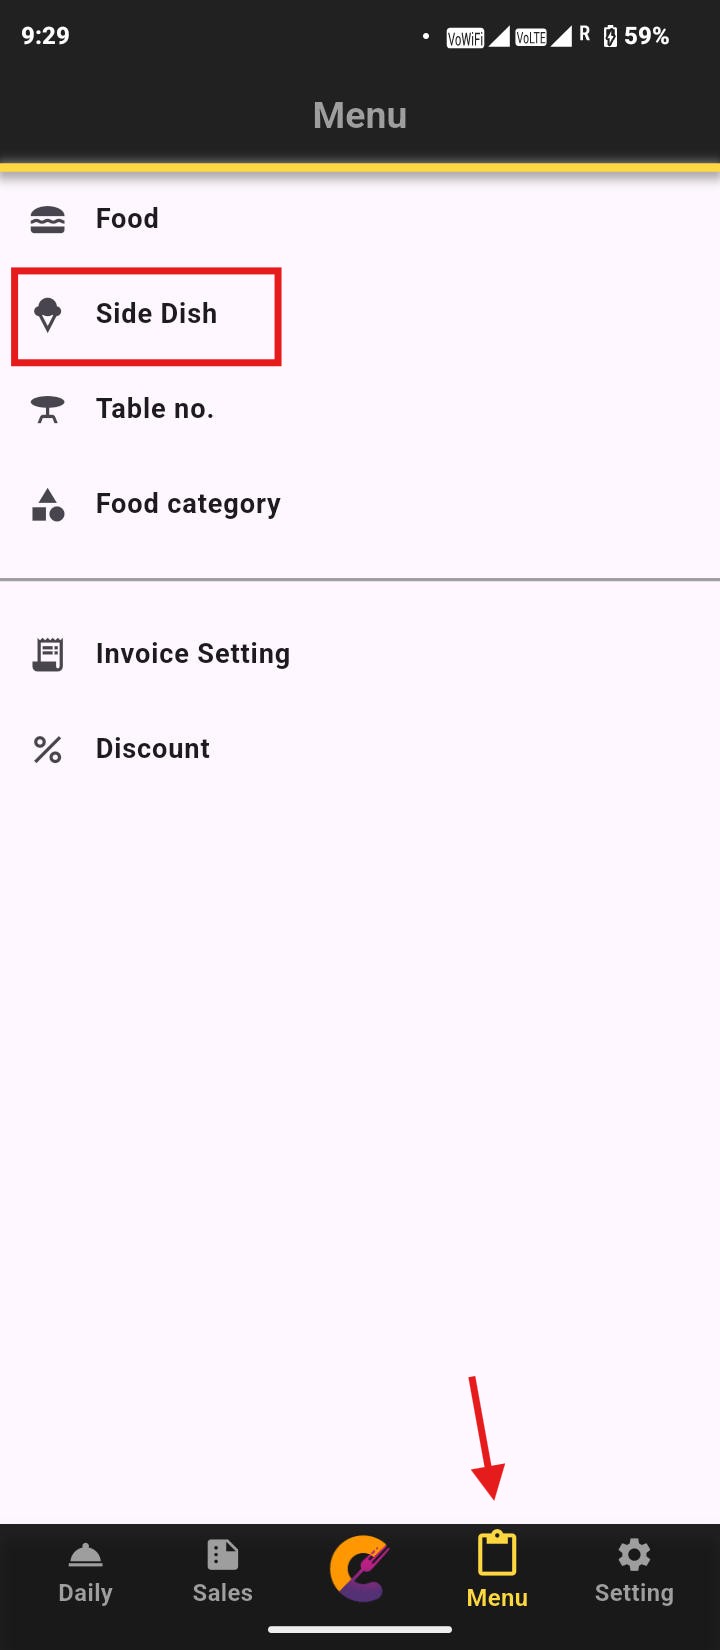
Go to “Menu” and select “Side Dish” to add an additional side dish or item to the main “Food.”
Navigate to the top right and select “Add New” to add a new item. The green on/off toggle is used to enable or disable the item.

Enter the details for “Side Dish Name”, “Side Dish Print Name”, “Side Dish Price”, “Sorting”, and “Color”, then click the “Submit” button to save.

Table No
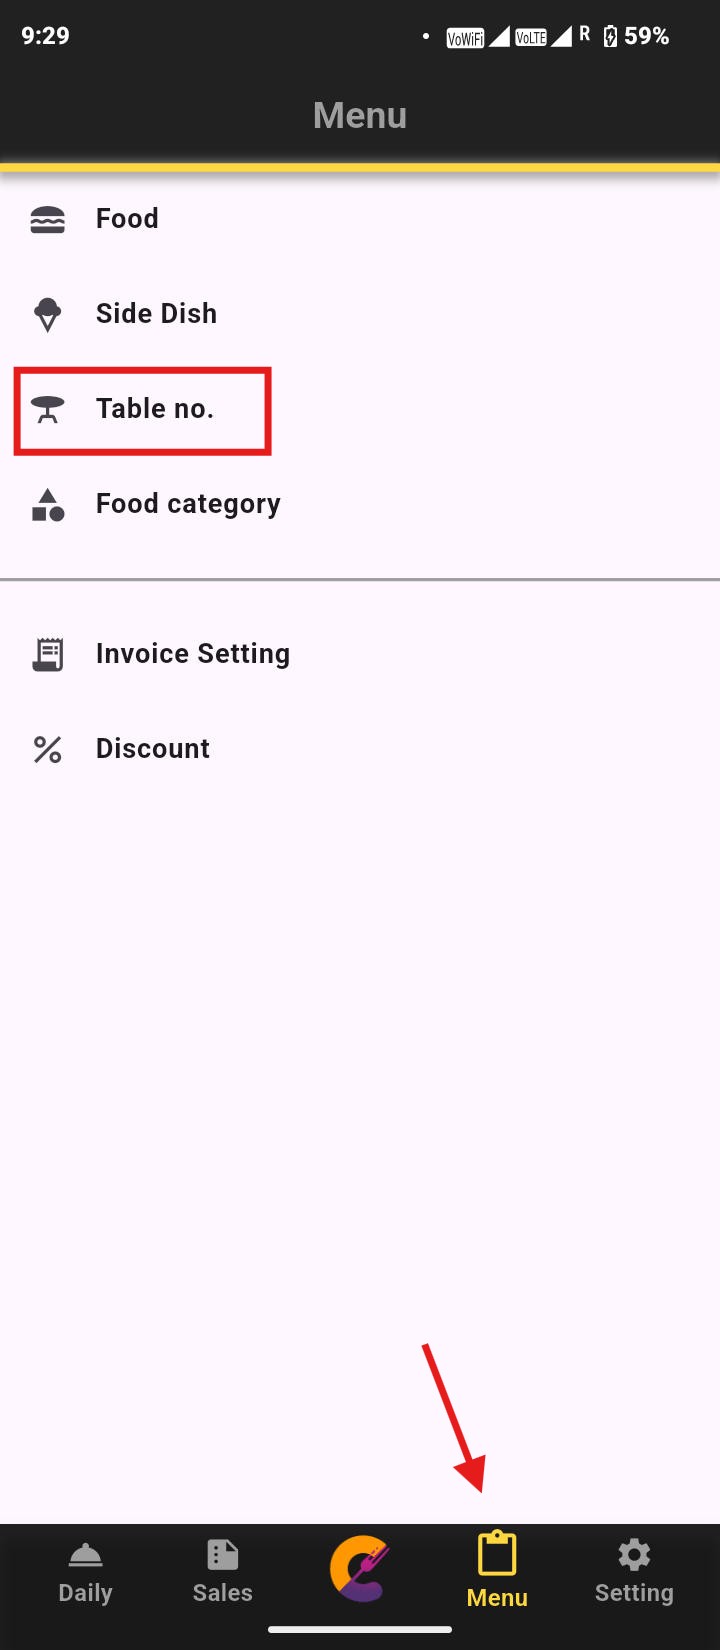
Go to “Menu” and select “Table no.” to set up table numbers for easier management.
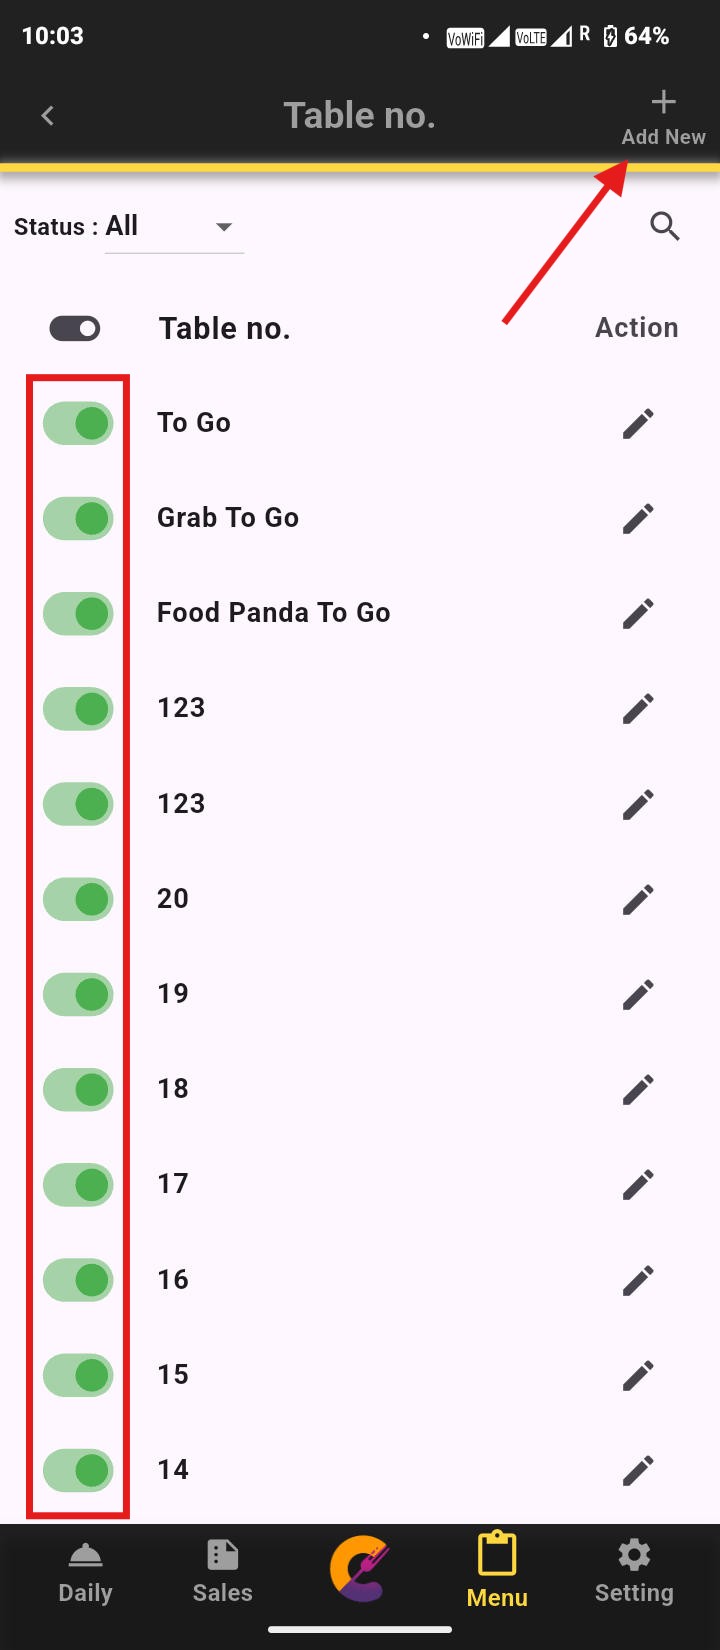
Navigate to the top right and select “Add New” to add table number. The green on/off toggle is used to enable or disable table number.
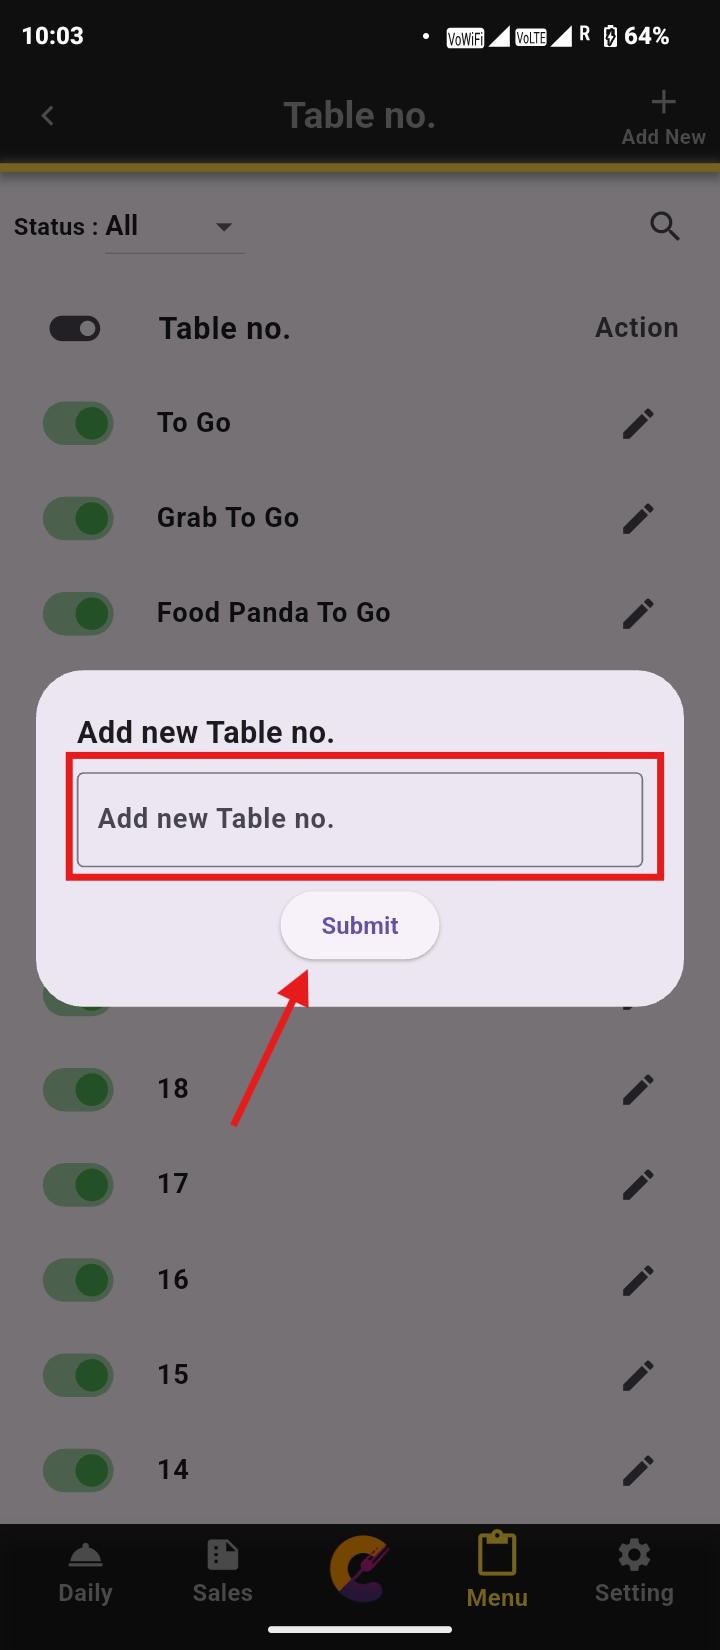
Enter the table name or number, then select “Submit” to save.
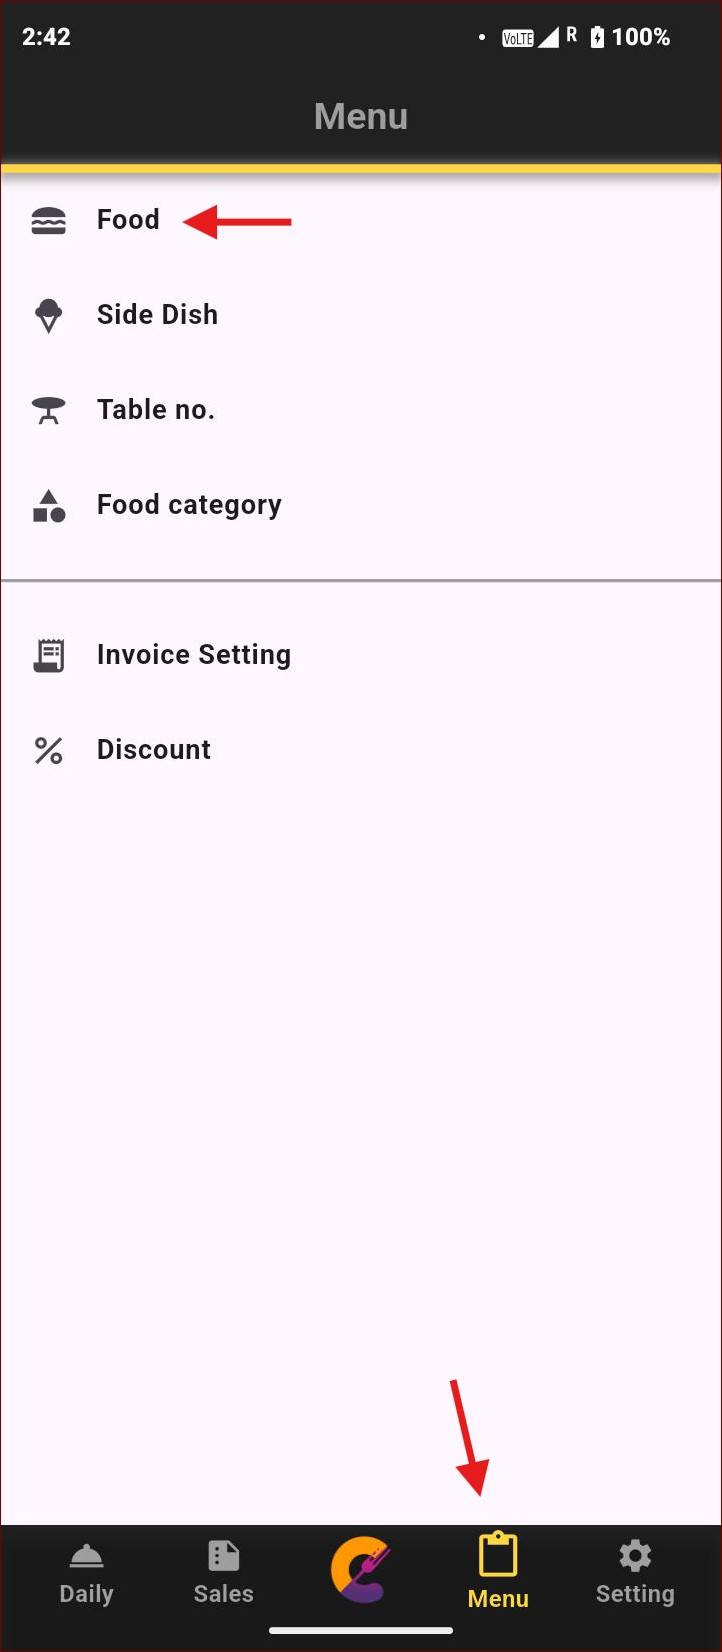
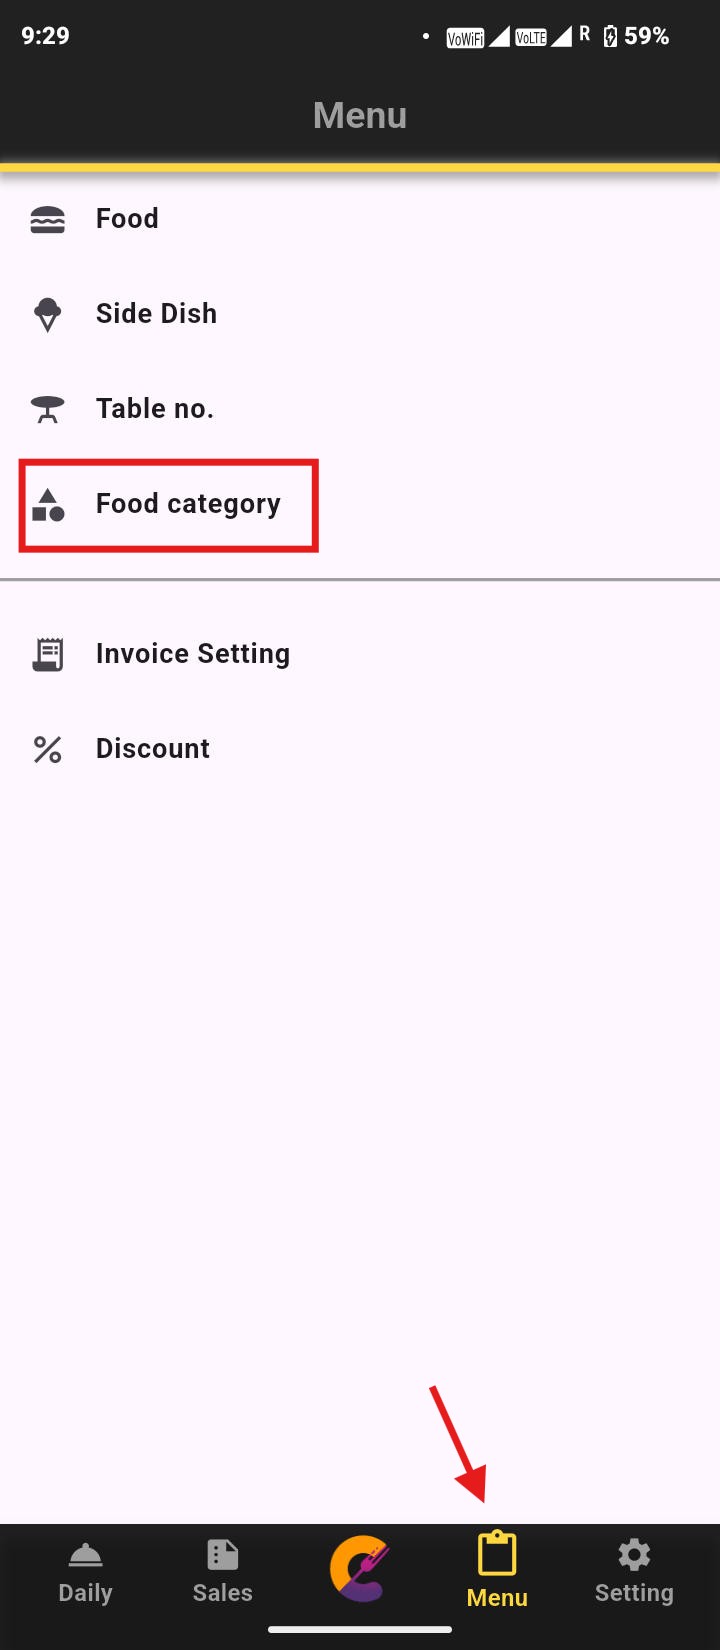
Food Category
Go to “Menu” and select “Food Category” to create categories for easier sorting.
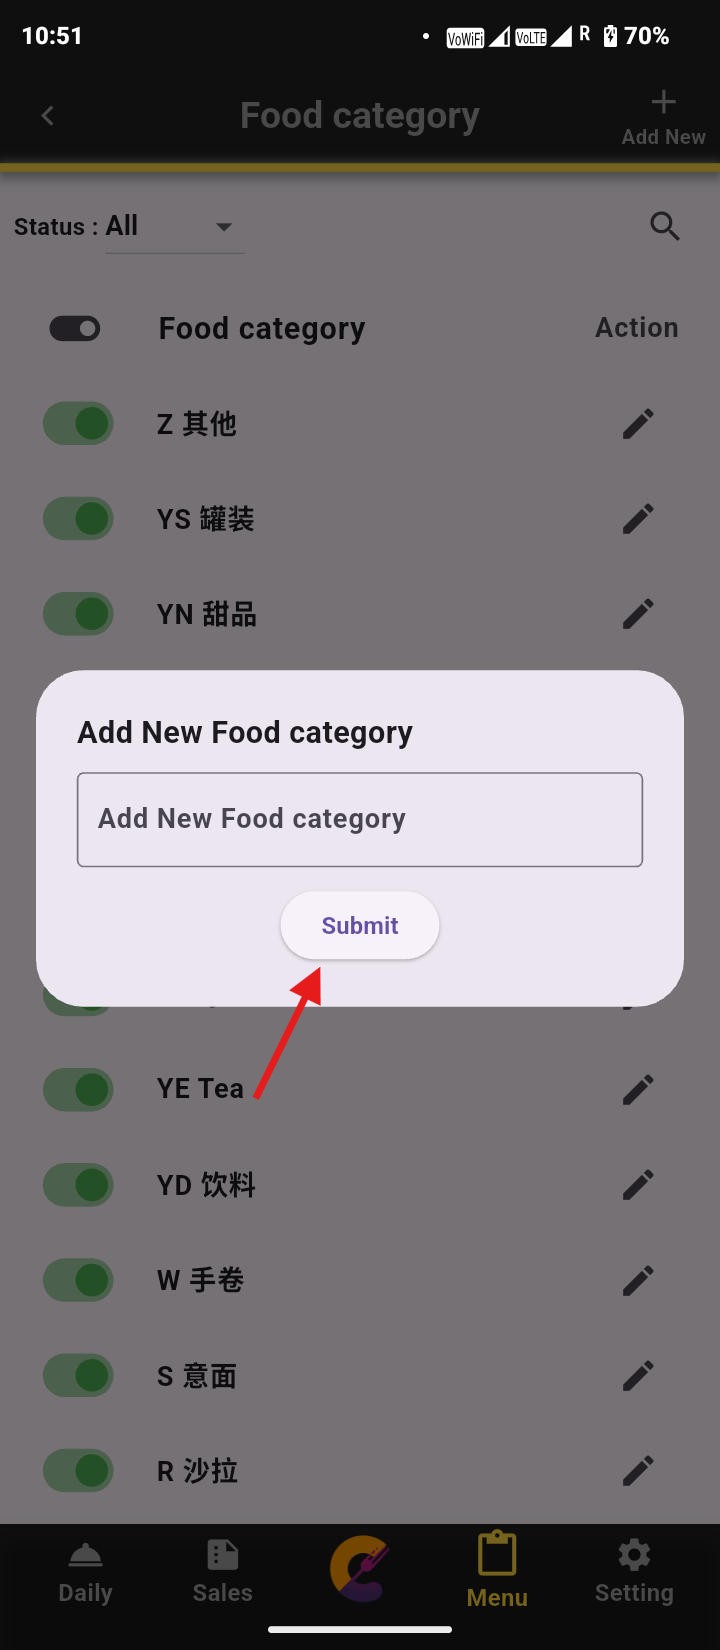
Navigate to the top right and select “Add New” to add a new category. The green on/off toggle is used to enable or disable the food category. The Pen icon is used to rename the category.
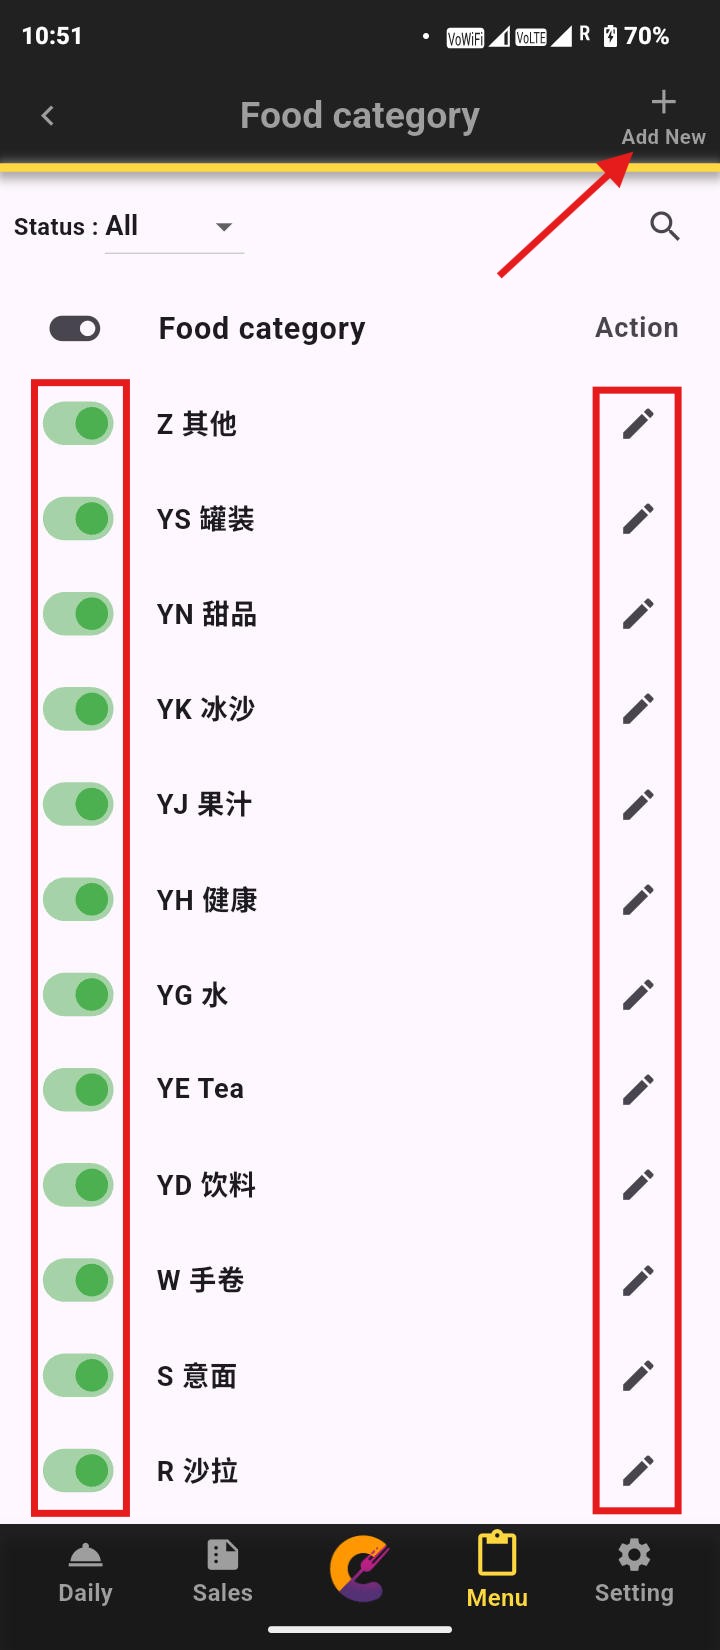
Enter the category name, then select “Submit” to save.
Invoice Setting
Go to Invoice Settings
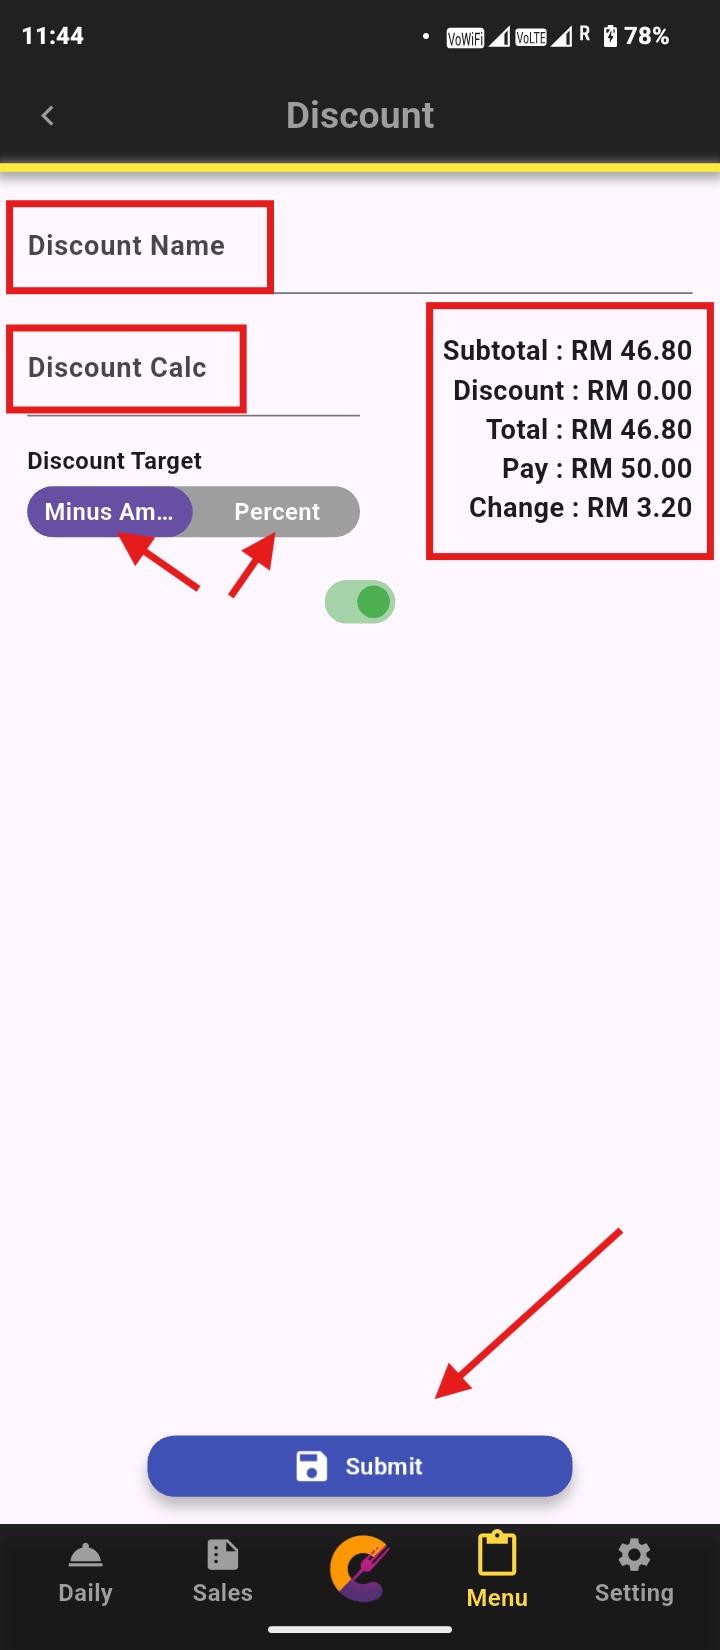
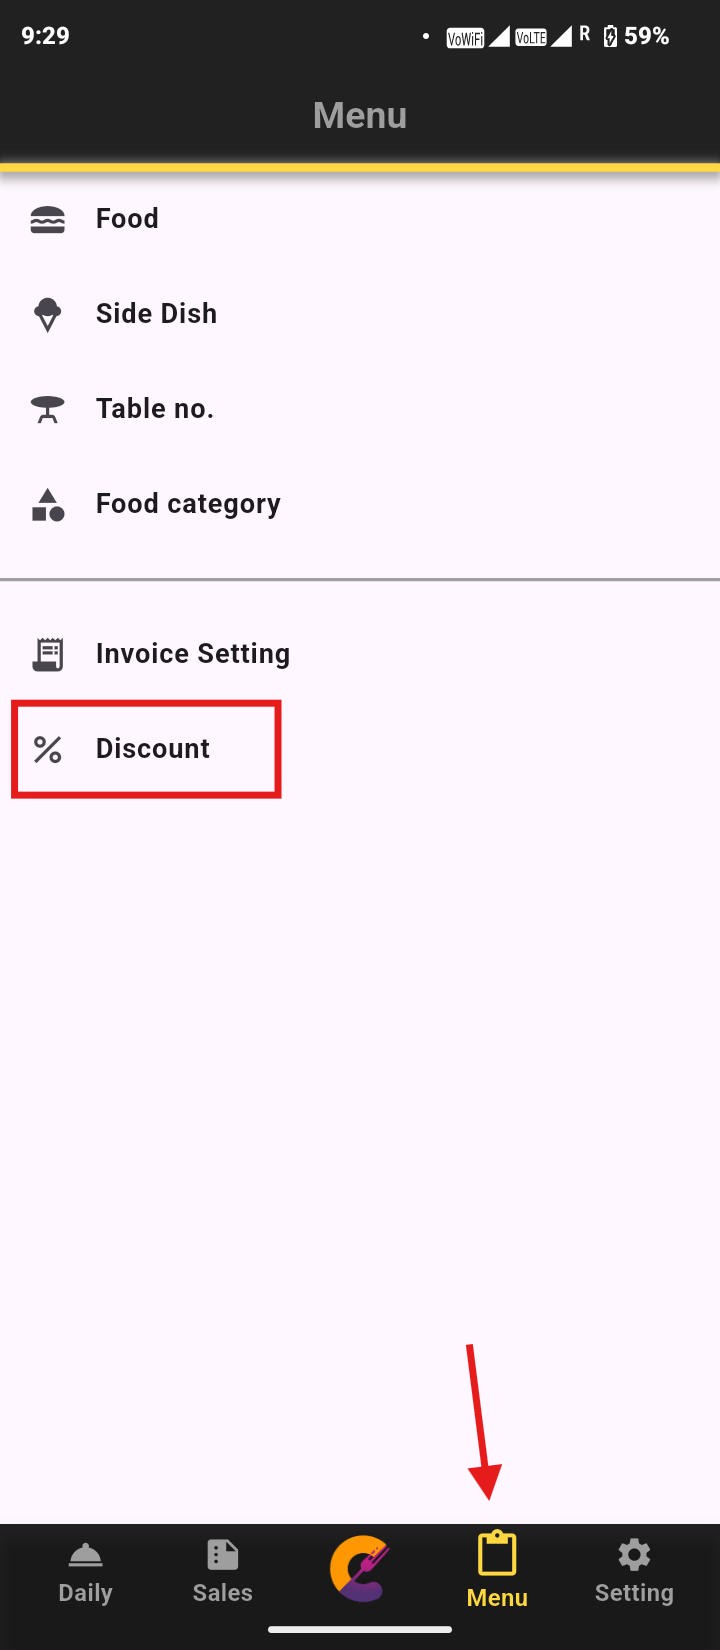
Discount
Go to “Menu” and select “Discount” to manage discounts.
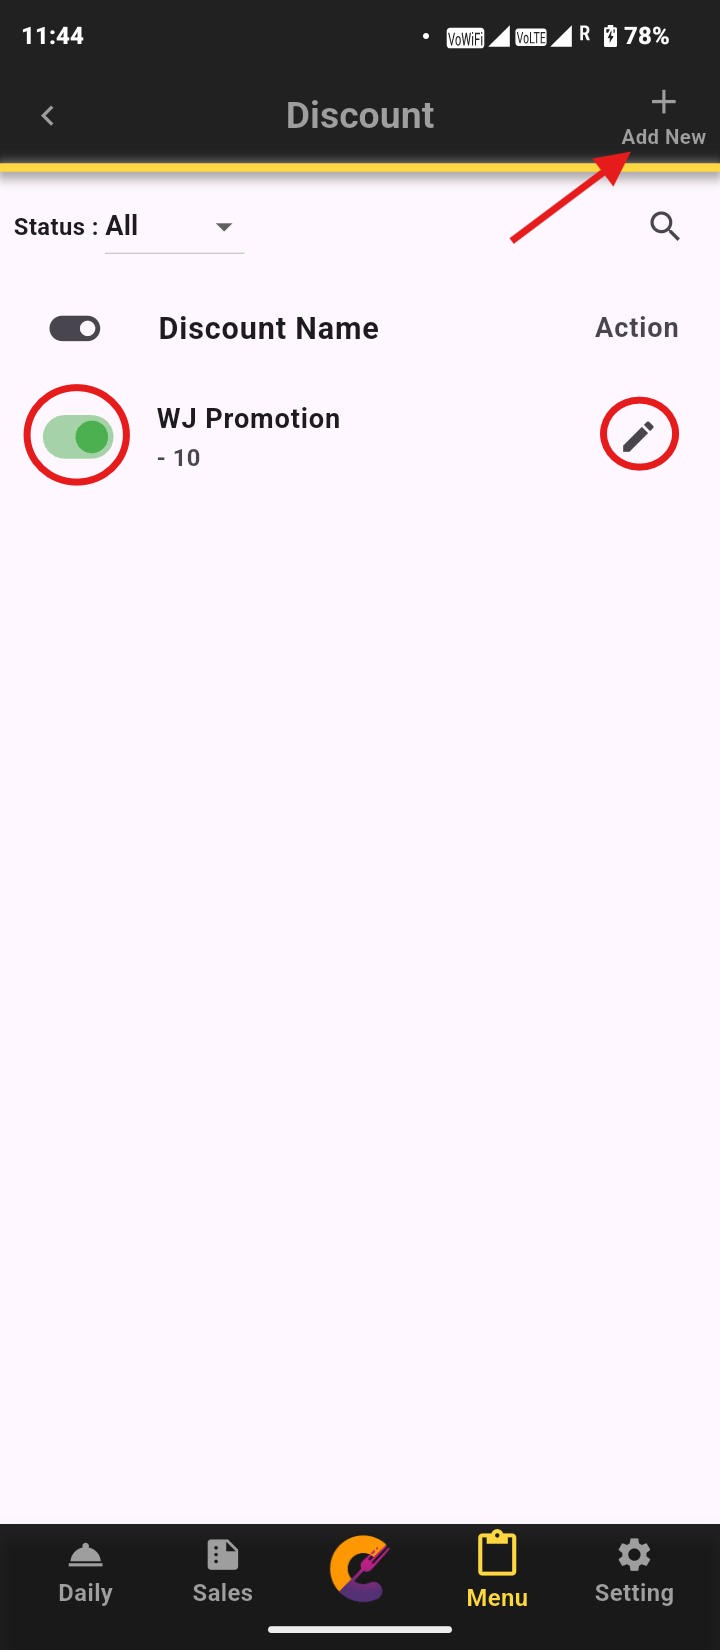
Navigate to the top right and select “Add New” to create discount. The green on/off toggle is used to enable or disable the discount. The Pen icon is used to configure the discount.
Enter the Discount Name, Discount Calc (Number), then choose between Minus Am… (Fixed Value) or Percentage. Select “Submit” to save. The Subtotal displays an example of the calculation.