Accessing the iEasyPOS Online Ordering Page
Customers can access the iEasyPOS online ordering page by scanning the QR code displayed at your restaurant or store.
Step 1: Scan the QR Code
- Open the Camera app on your smartphone. If your device does not support QR code scanning through the camera, use a QR code scanner app.
- Point your camera at the QR code.
- A notification or link will appear on your screen.
- Tap the notification or link to open the iEasyPOS Online Ordering page in your mobile web browser.

Step 2: Access the Ordering Dashboard
After successfully scanning the QR code, the iEasyPOS Online Ordering Dashboard will load automatically on your mobile device. Customers can then browse the menu, place orders, and complete the ordering process.
If you are looking for a specific item or want to find items quickly, use the search function. Locate the search bar at the top of the main content area, click the search box and type a keyword. As you type, the menu will filter in real-time to show only matching items.
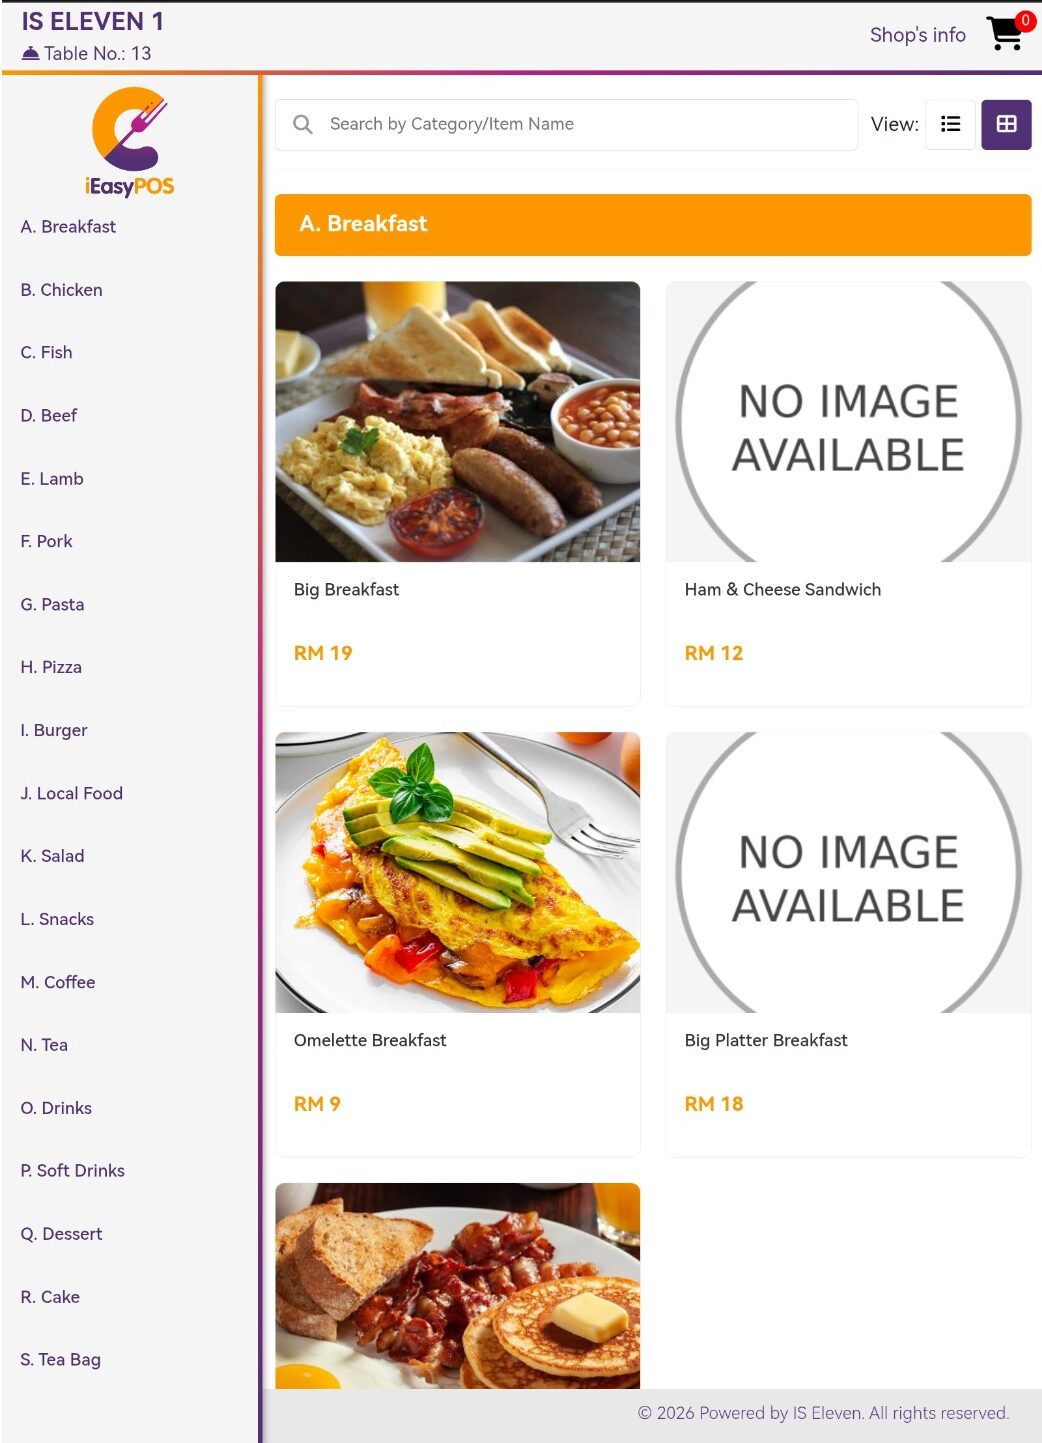
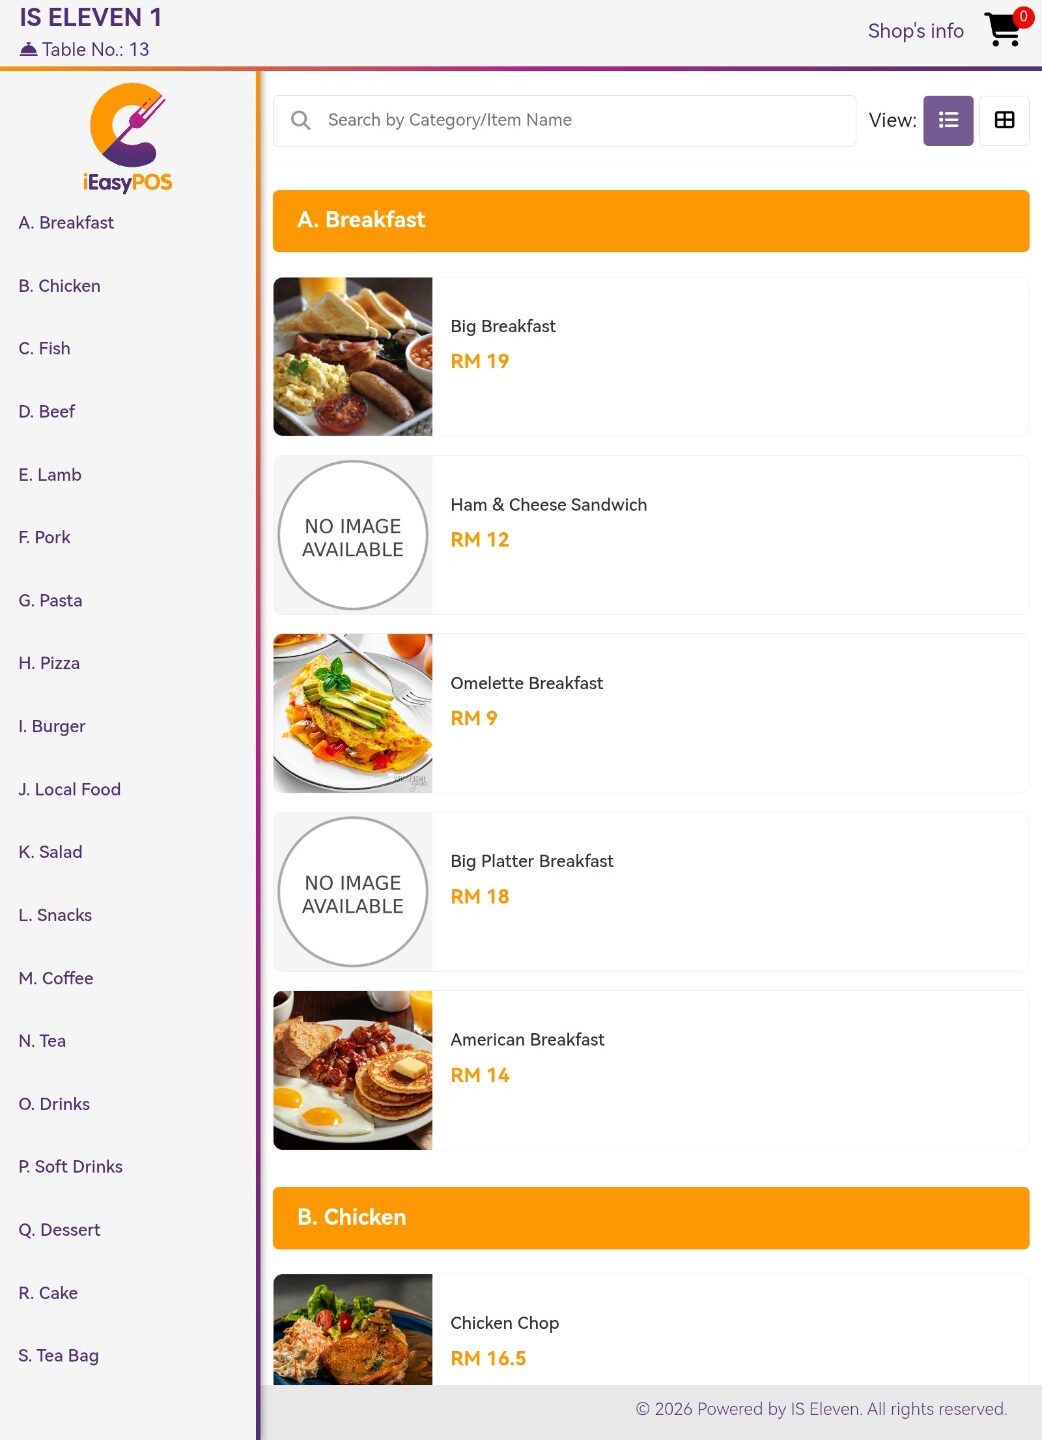
iEasyPOS offers two different view modes to browse the menu. You can switch between them using the view toggle buttons located next to the search bar.
- In Grid View , menu items are displayed as cards with images. Each card shows a photo of the item, the item name, and the price. This view is more visual and helps you see what the food looks like.
- In List View , menu items are displayed as a simple 2-column grid with item names and prices. This view is clean and text-focused, making it easy to scan through items quickly.
System Requirements
To ensure the online ordering system works properly, your device should meet the following requirements:
- A modern web browser, such as Google Chrome, Safari, Mozilla Firefox, or Microsoft Edge
- An active internet connection (Wi-Fi or mobile data)
- JavaScript enabled in your web browser
Important: Maintain a stable internet connection throughout the ordering process. A lost or unstable connection may interrupt the session or prevent your order from being submitted successfully.
Placing an Order
Step 3: Select Menu Items
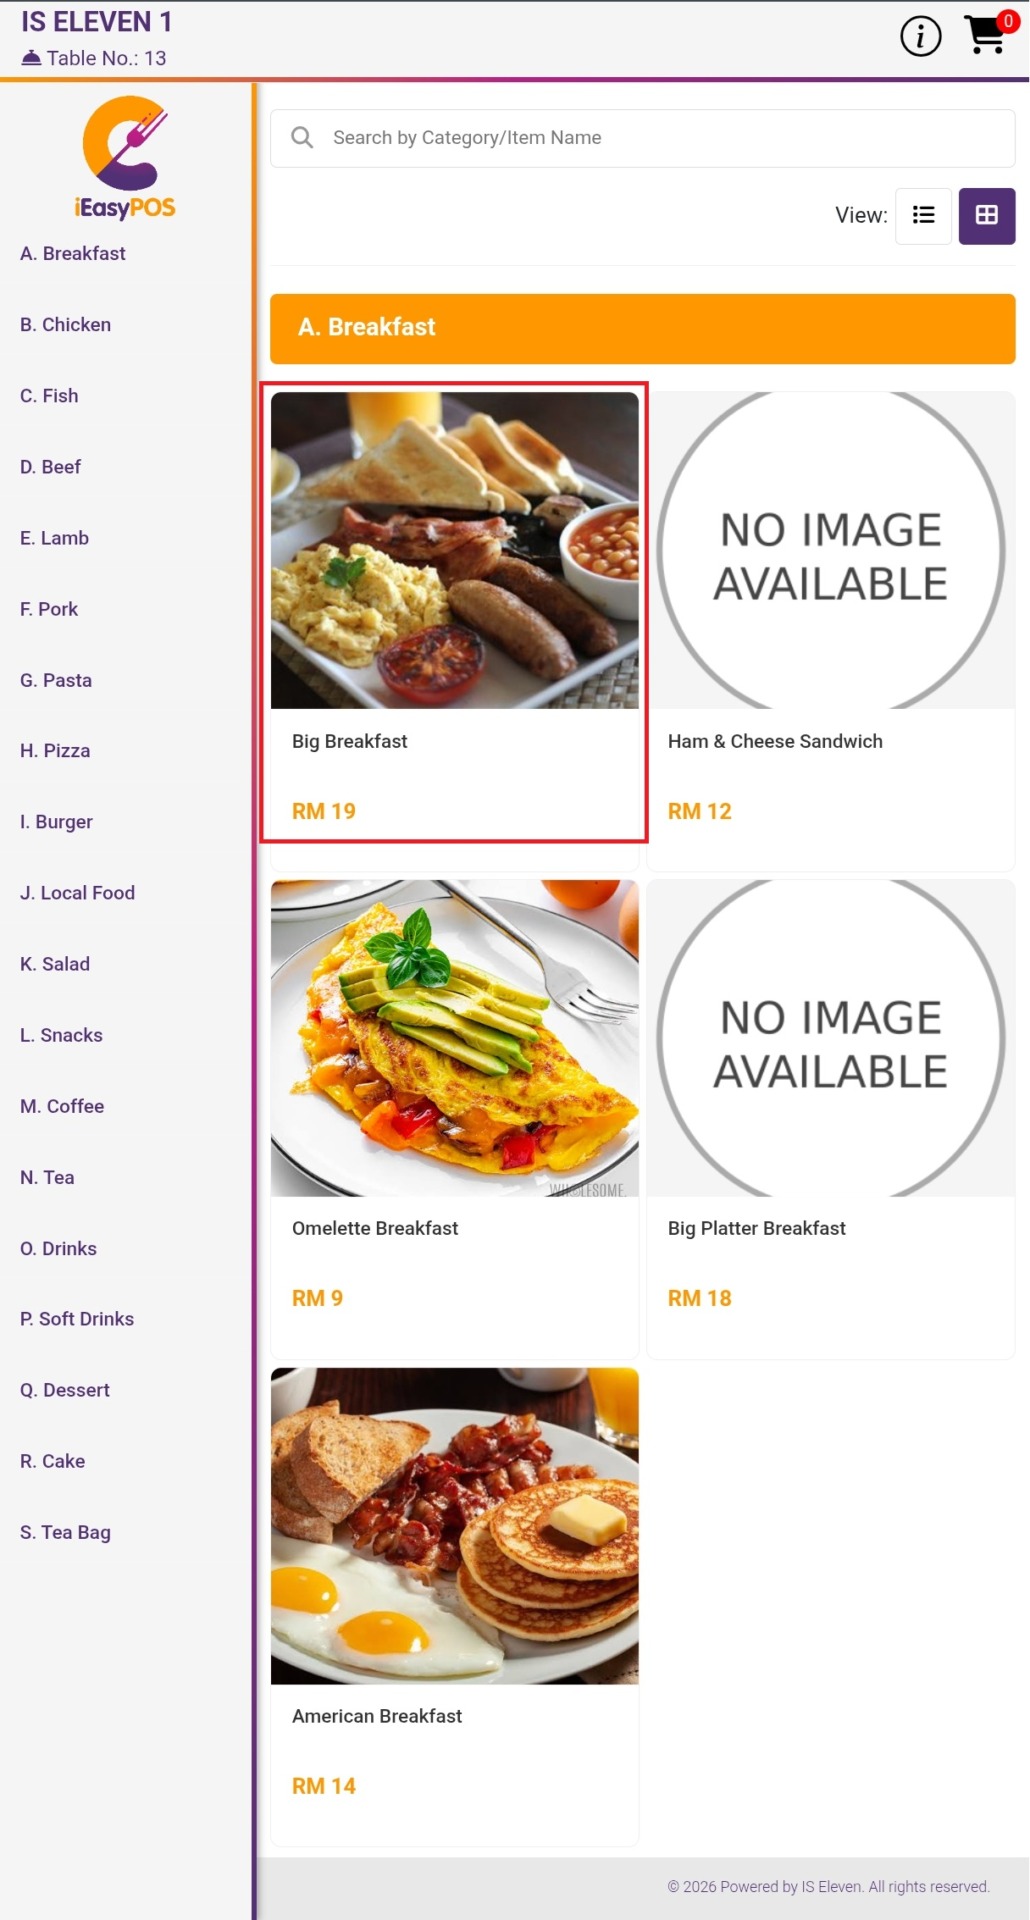
Browse the menu and locate the item you wish to order. Tap or click the item card to select it.
A pop-up window will appear displaying the item details. Depending on the menu item, you may be able to:
- Select your preferred side dish or available options.
- Adjust the order quantity using the quantity selector (with + and – buttons) to increase or decrease the quantities.
- Add any required item customizations.
Once you have made your selections, click Add Order to add the item to your shopping cart.

Step 4: Review Your Shopping Cart
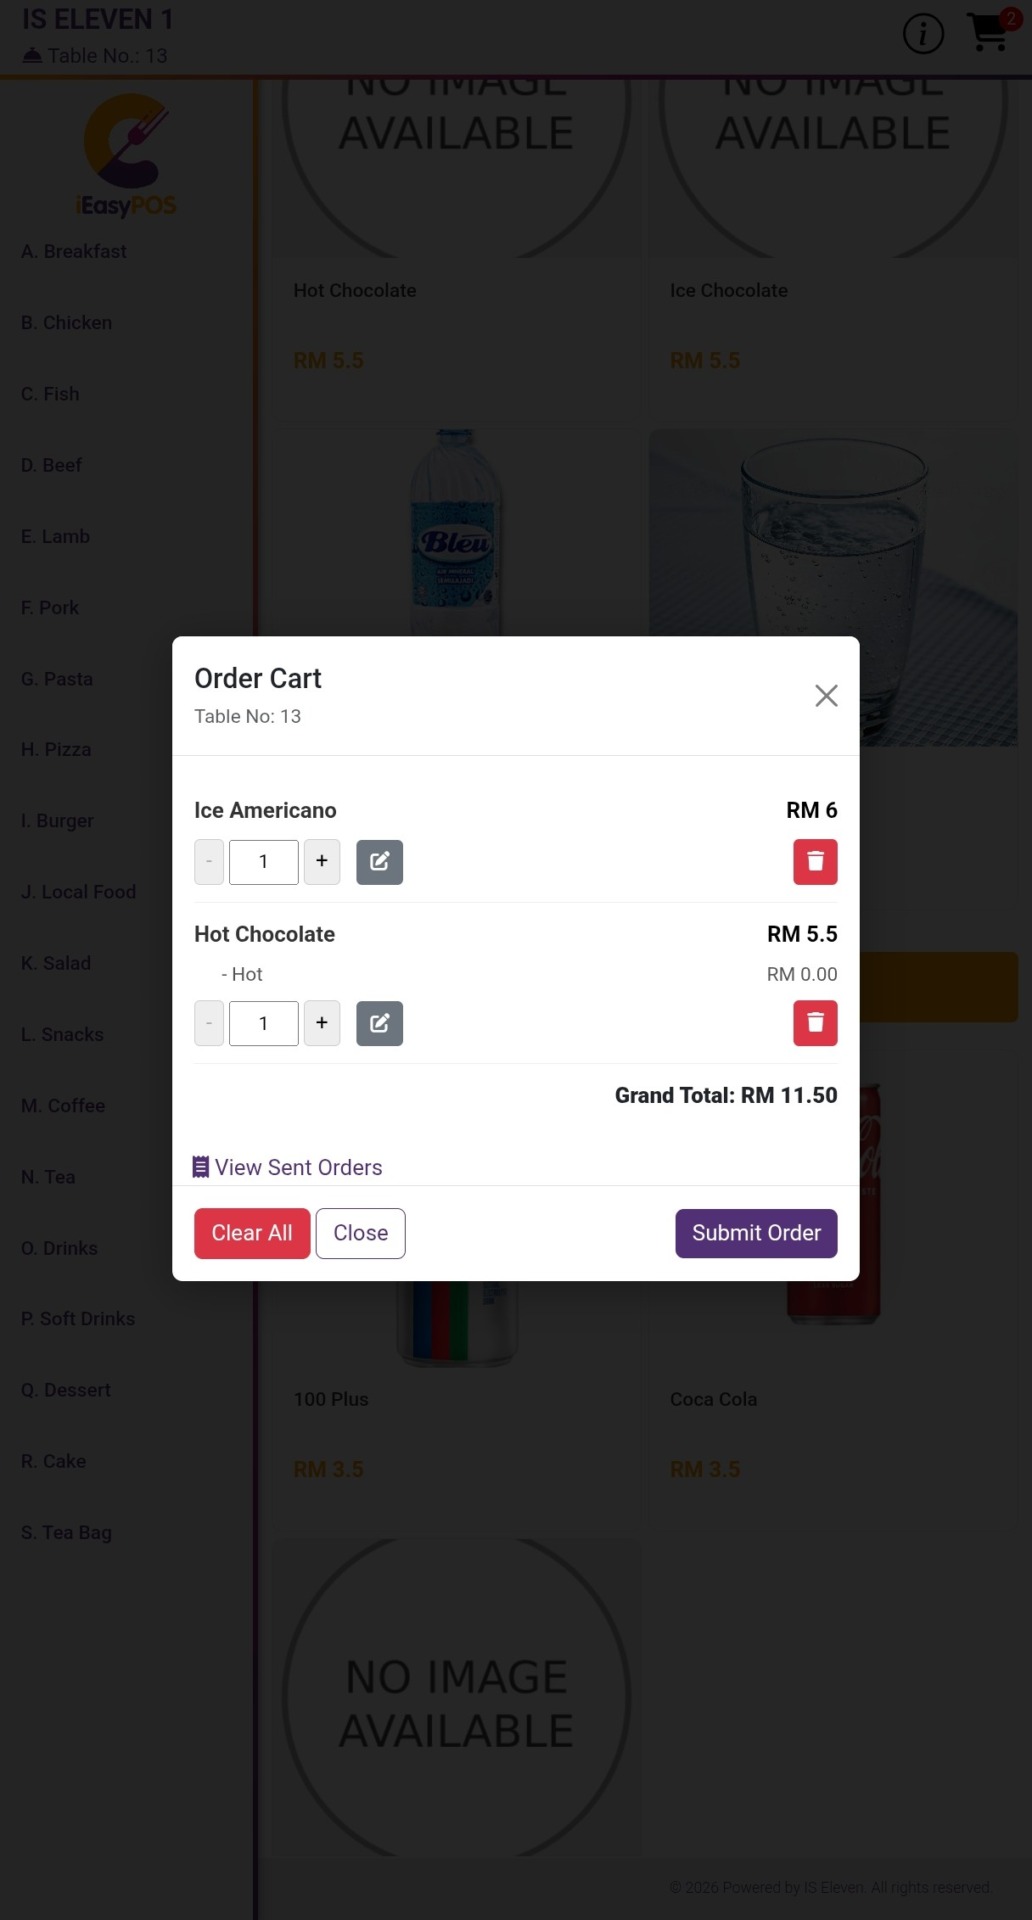
To review your selected items, click the Cart icon located in the top-right corner of the page.

The shopping cart displays all items that have been added to your order. You can:
- Review and edit an item by clicking the Edit icon.
- Change the quantity of an item using the quantity selector (with + and – buttons) to increase or decrease the quantities.
- Remove an item by clicking the Delete icon
- Clear all items from the cart by clicking Clear All.
After reviewing your order and making any necessary changes, click Submit Order to proceed to the Order Summary confirmation page.
Step 5: Confirm Your Order
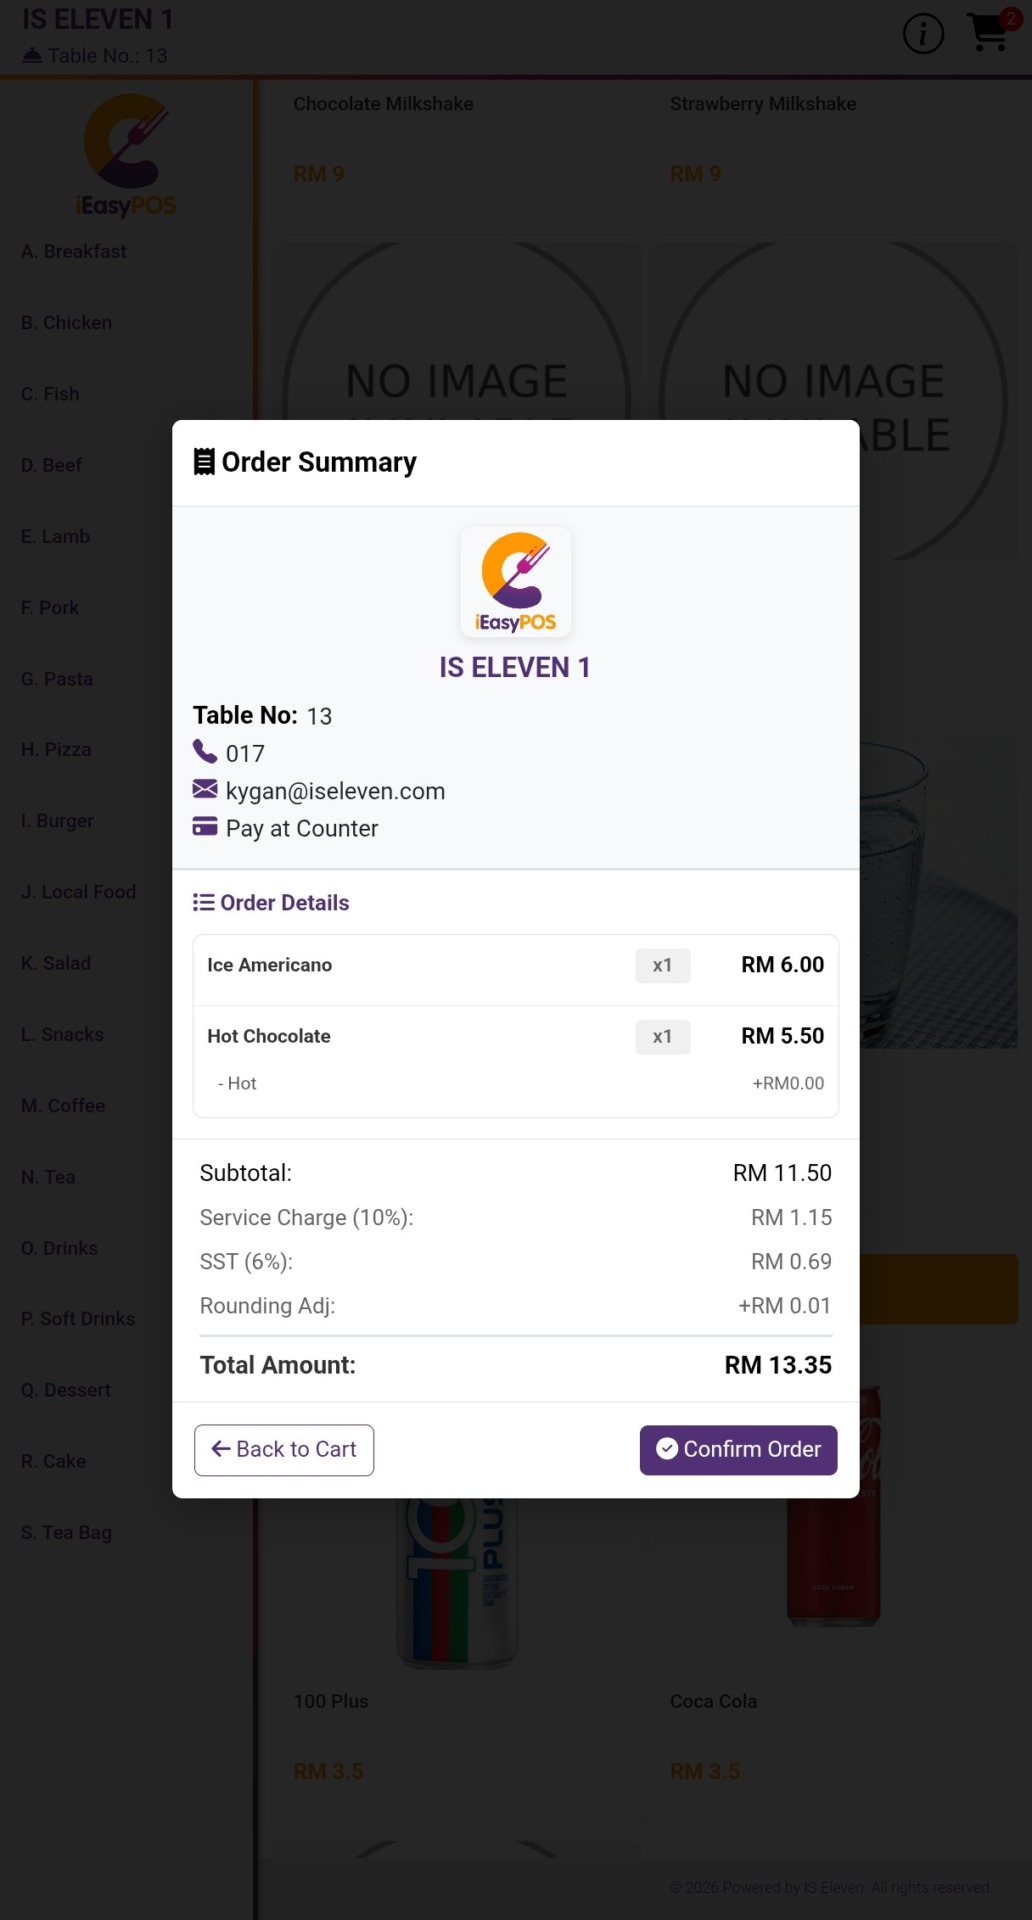
The Order Summary confirmation page will display a summary of your order for final review.
Carefully verify that all items and quantities are correct. If any changes are required, click Back to Cart return to the cart to update your order.
Once everything is correct, click Confirm Order to submit your order to the iEasyPOS system.
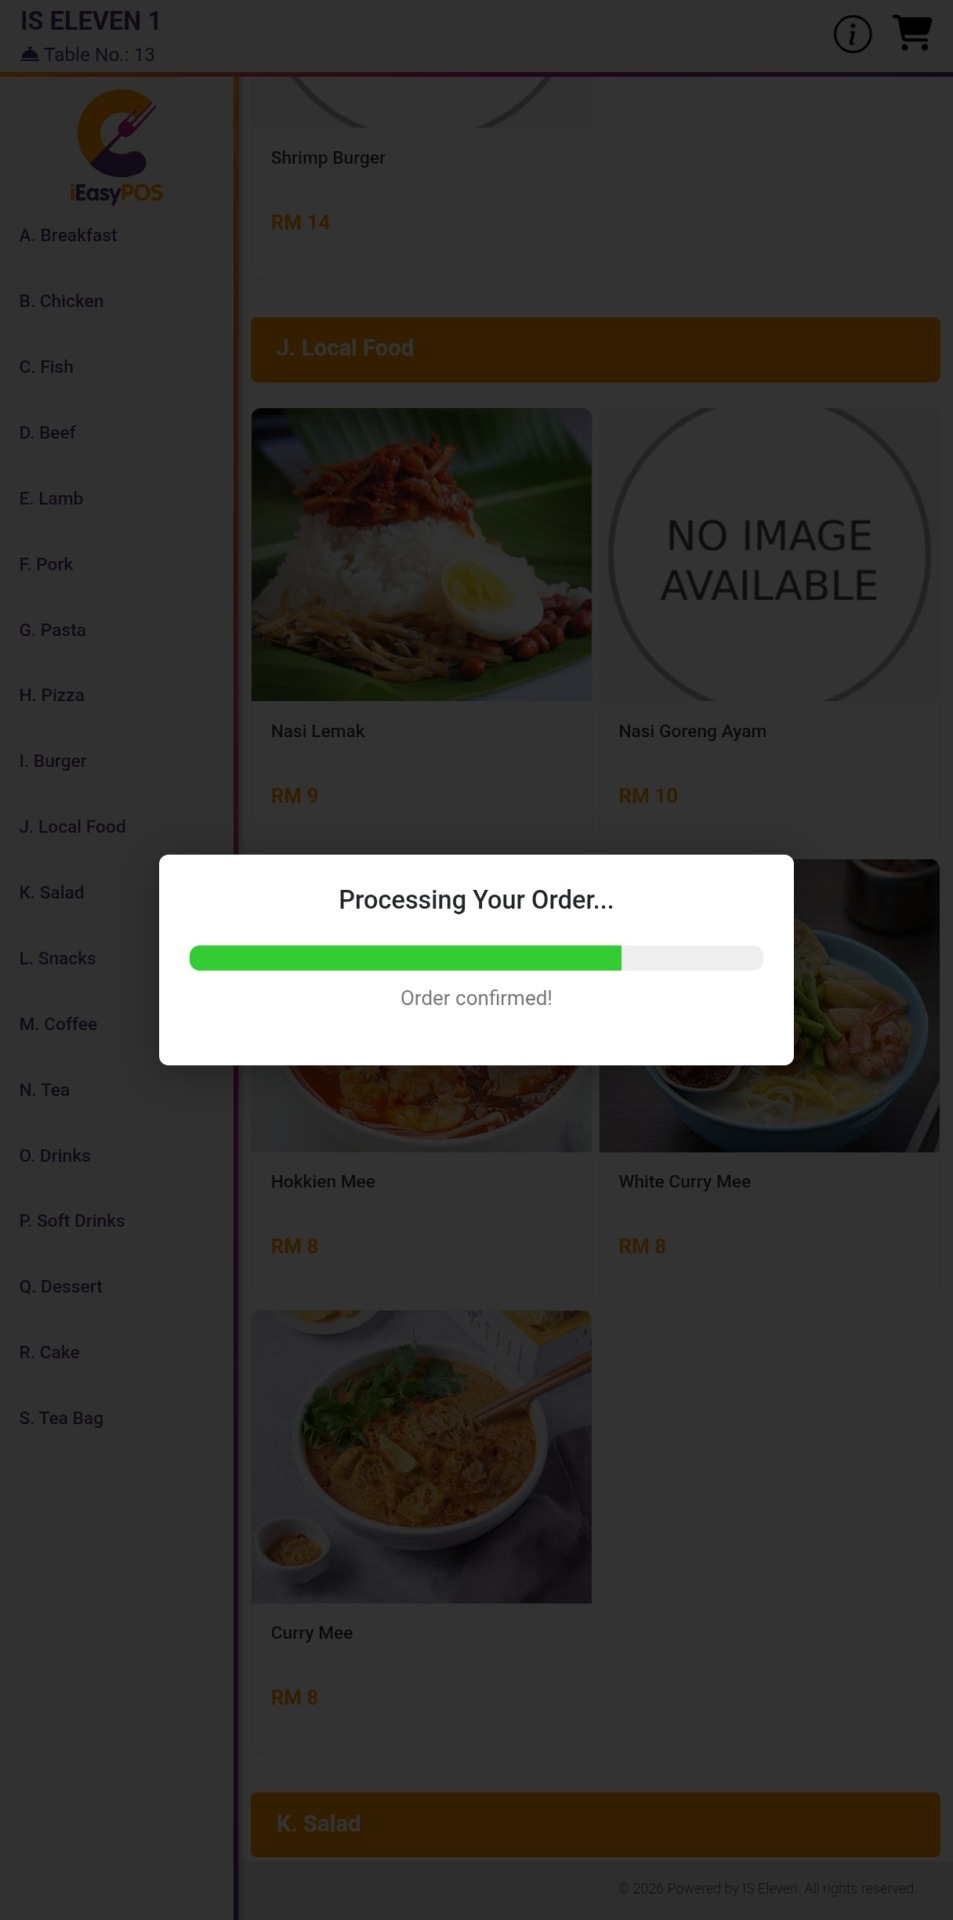
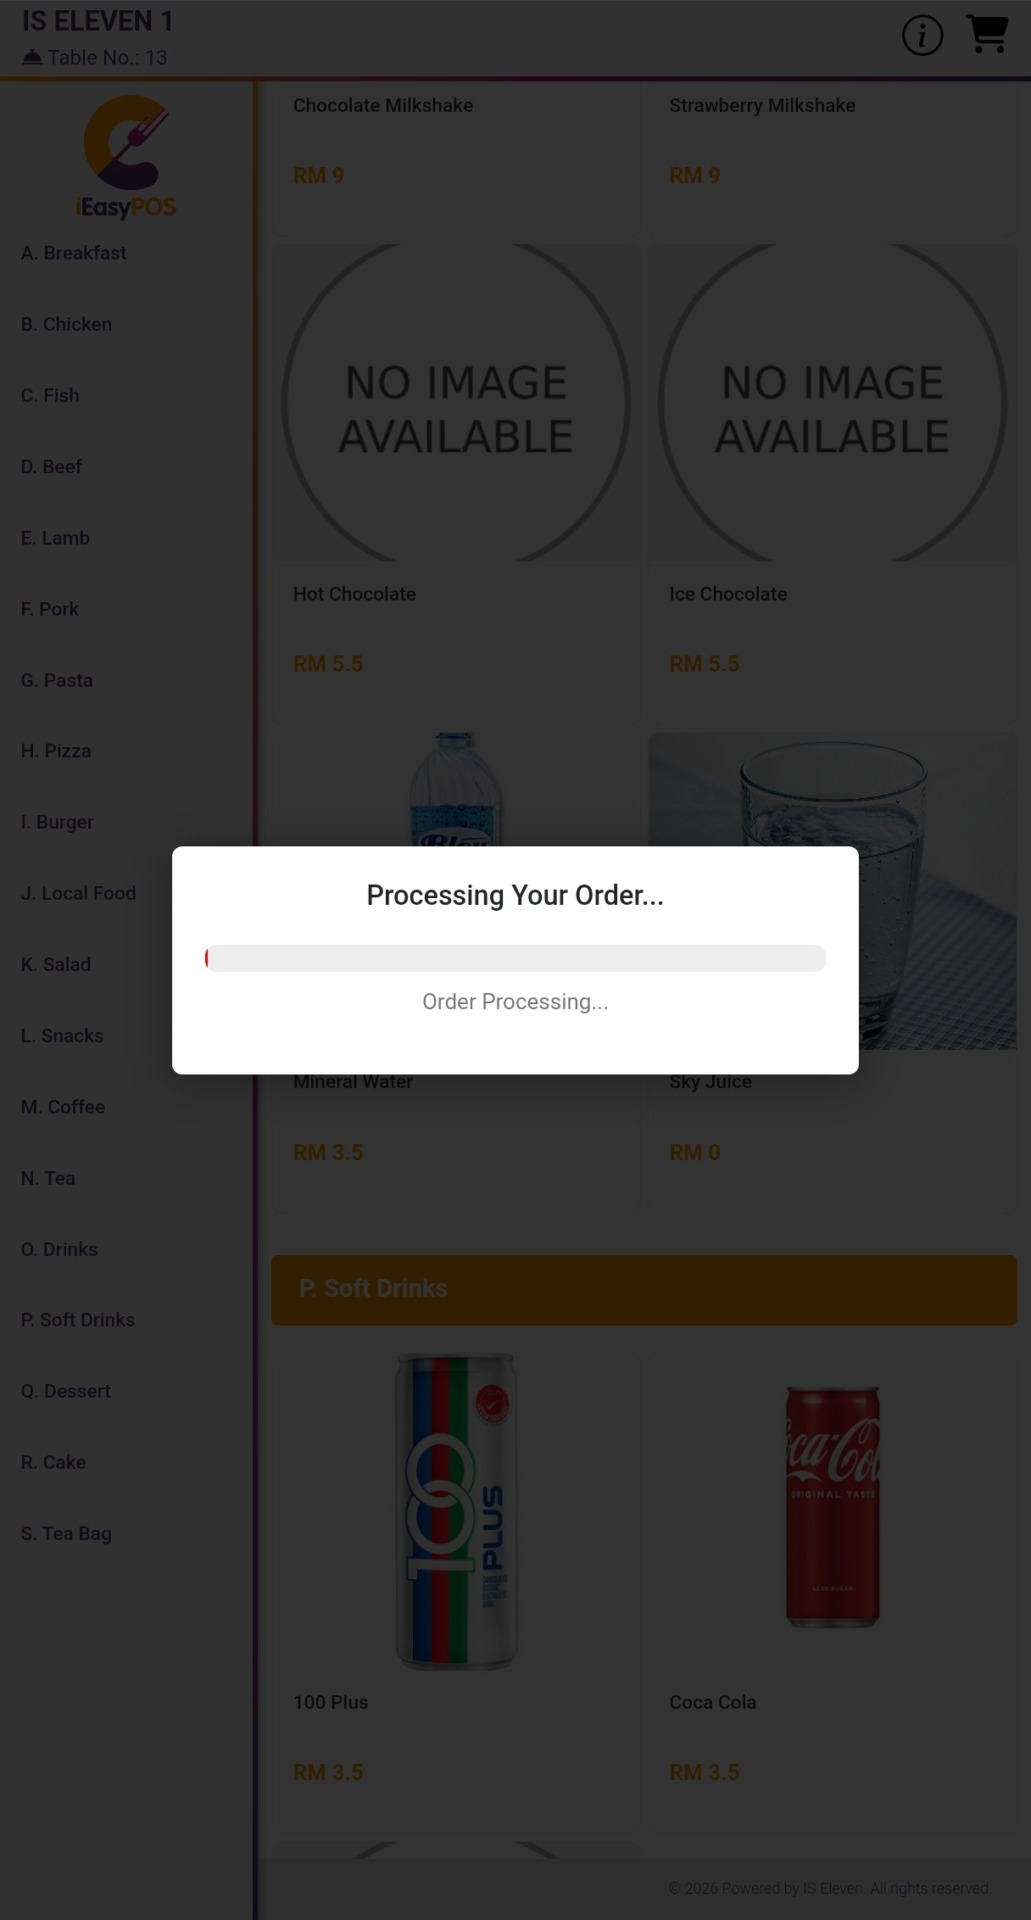
After you confirm your order, the system will attempt to notify the merchant and wait for merchant to confirm your order. During this process, a loading overlay will appear, displaying a progress bar and status messages to keep you informed of the submission progress.

Important: Please do not close your browser, refresh the page, or navigate away while your order is being submitted. Wait until the submission process is complete and the Sent Orders page is displayed.
Order Status Outcomes
Outcome 1: Order Accepted
A green success message will appear:
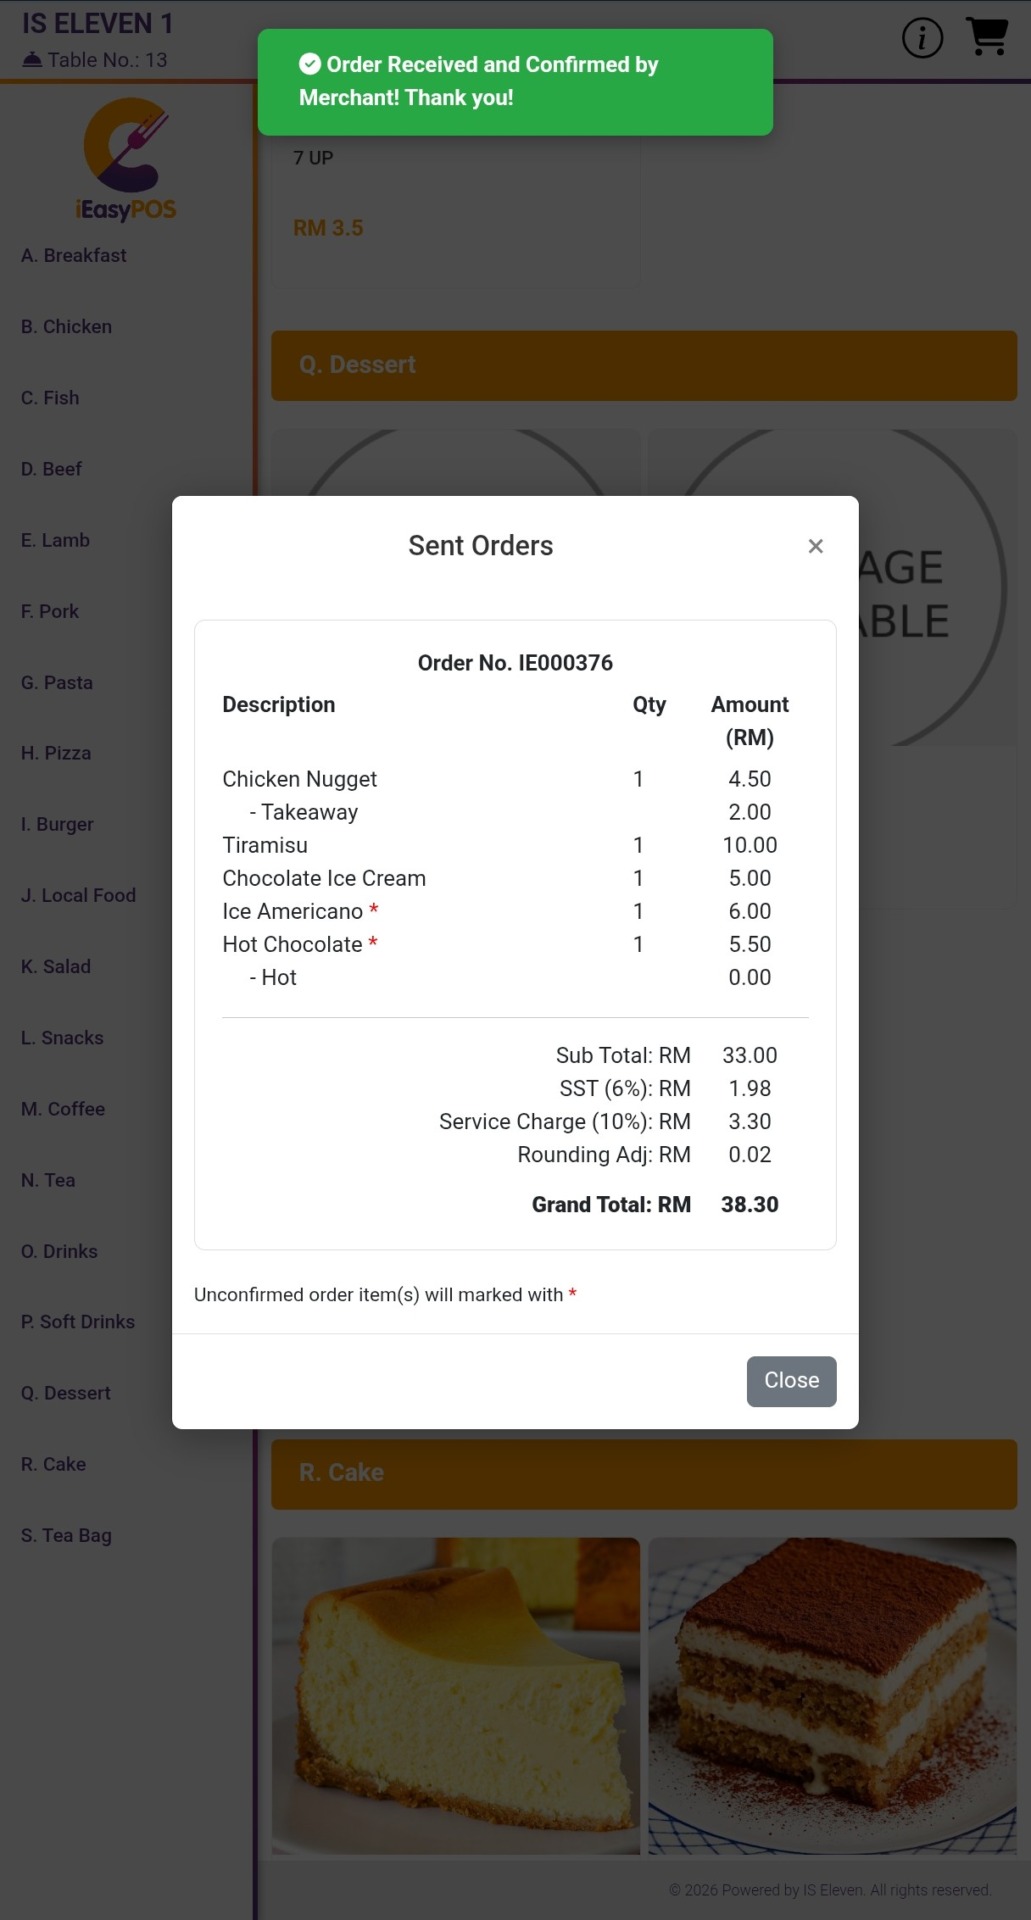
Order Received and Confirmed by Merchant! Thank you!
This indicates that the merchant has accepted your order. You can view the accepted order on the Sent Orders page.
Outcome 2: Order Rejected
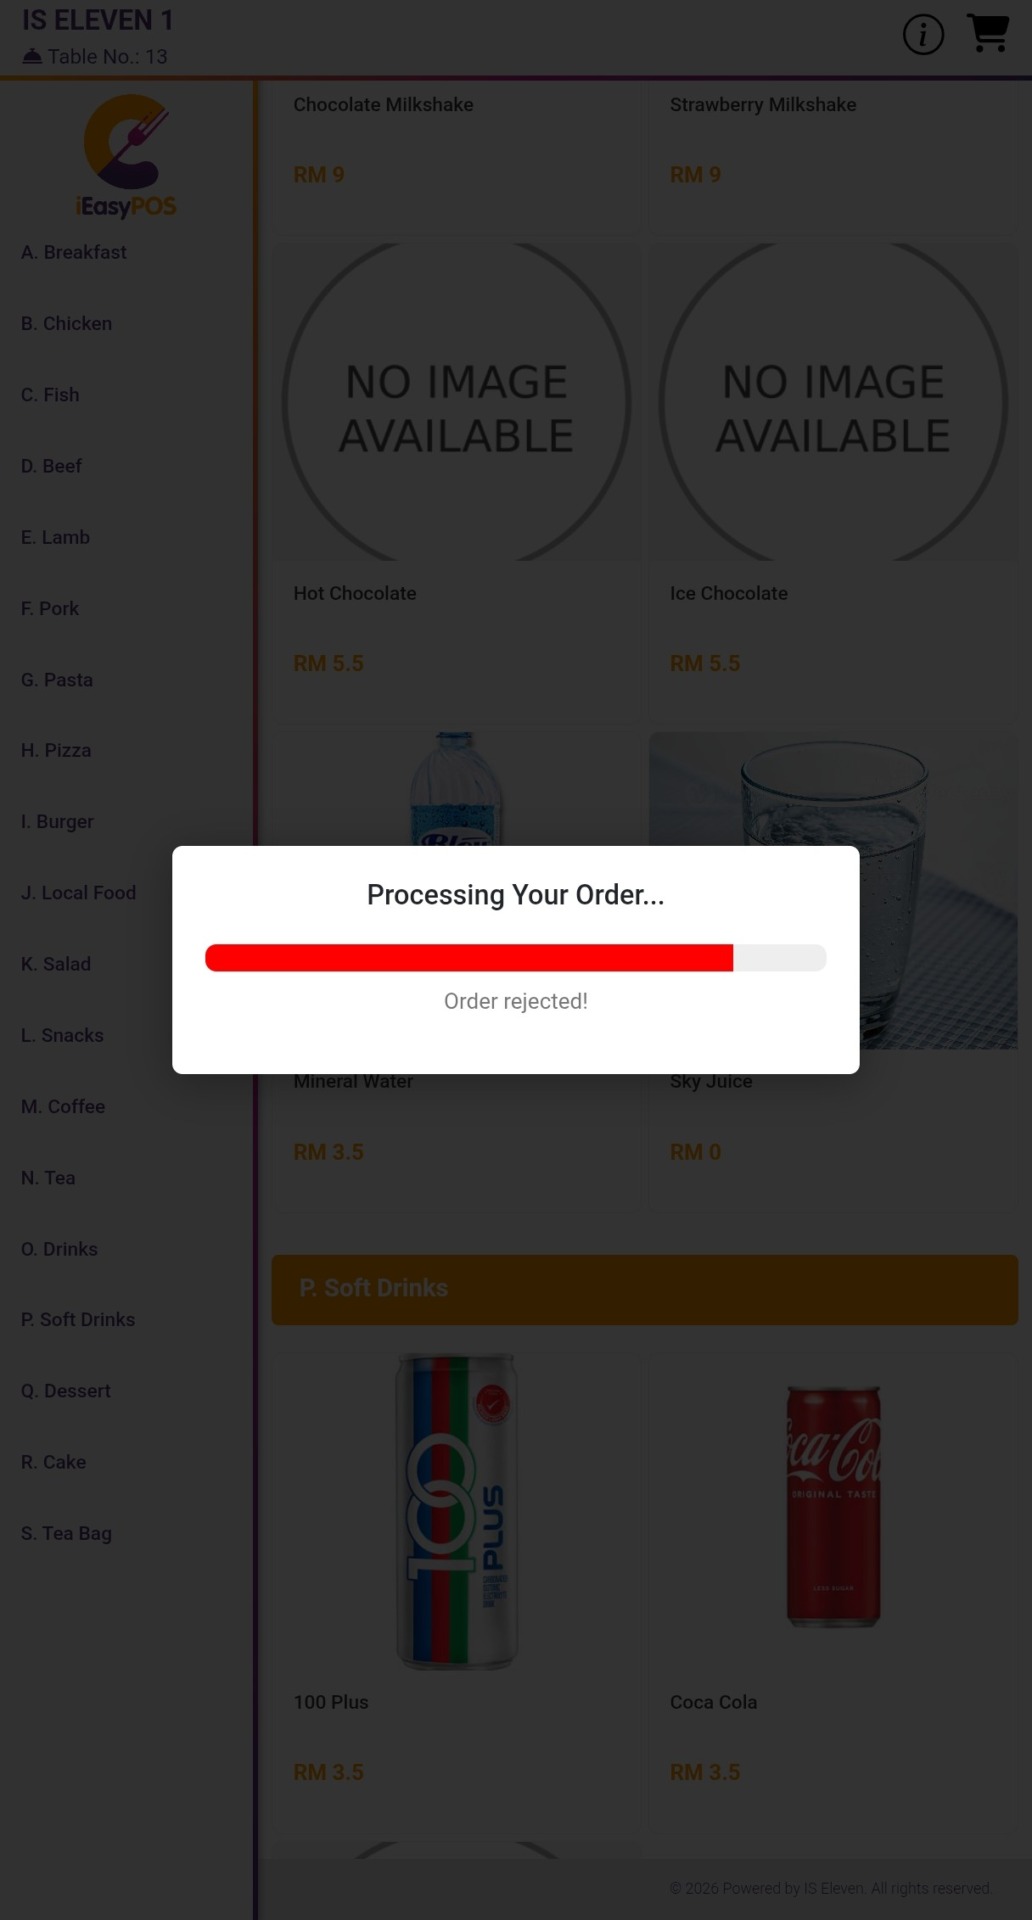
A red error message will appear:
Order Rejected by Merchant. Please try again later or contact the merchant for assistance.
This indicates that the merchant was unable to accept your order. Please try again later or contact the merchant for assistance.

Outcome 3: No Response (Timeout)
A green success message will appear:
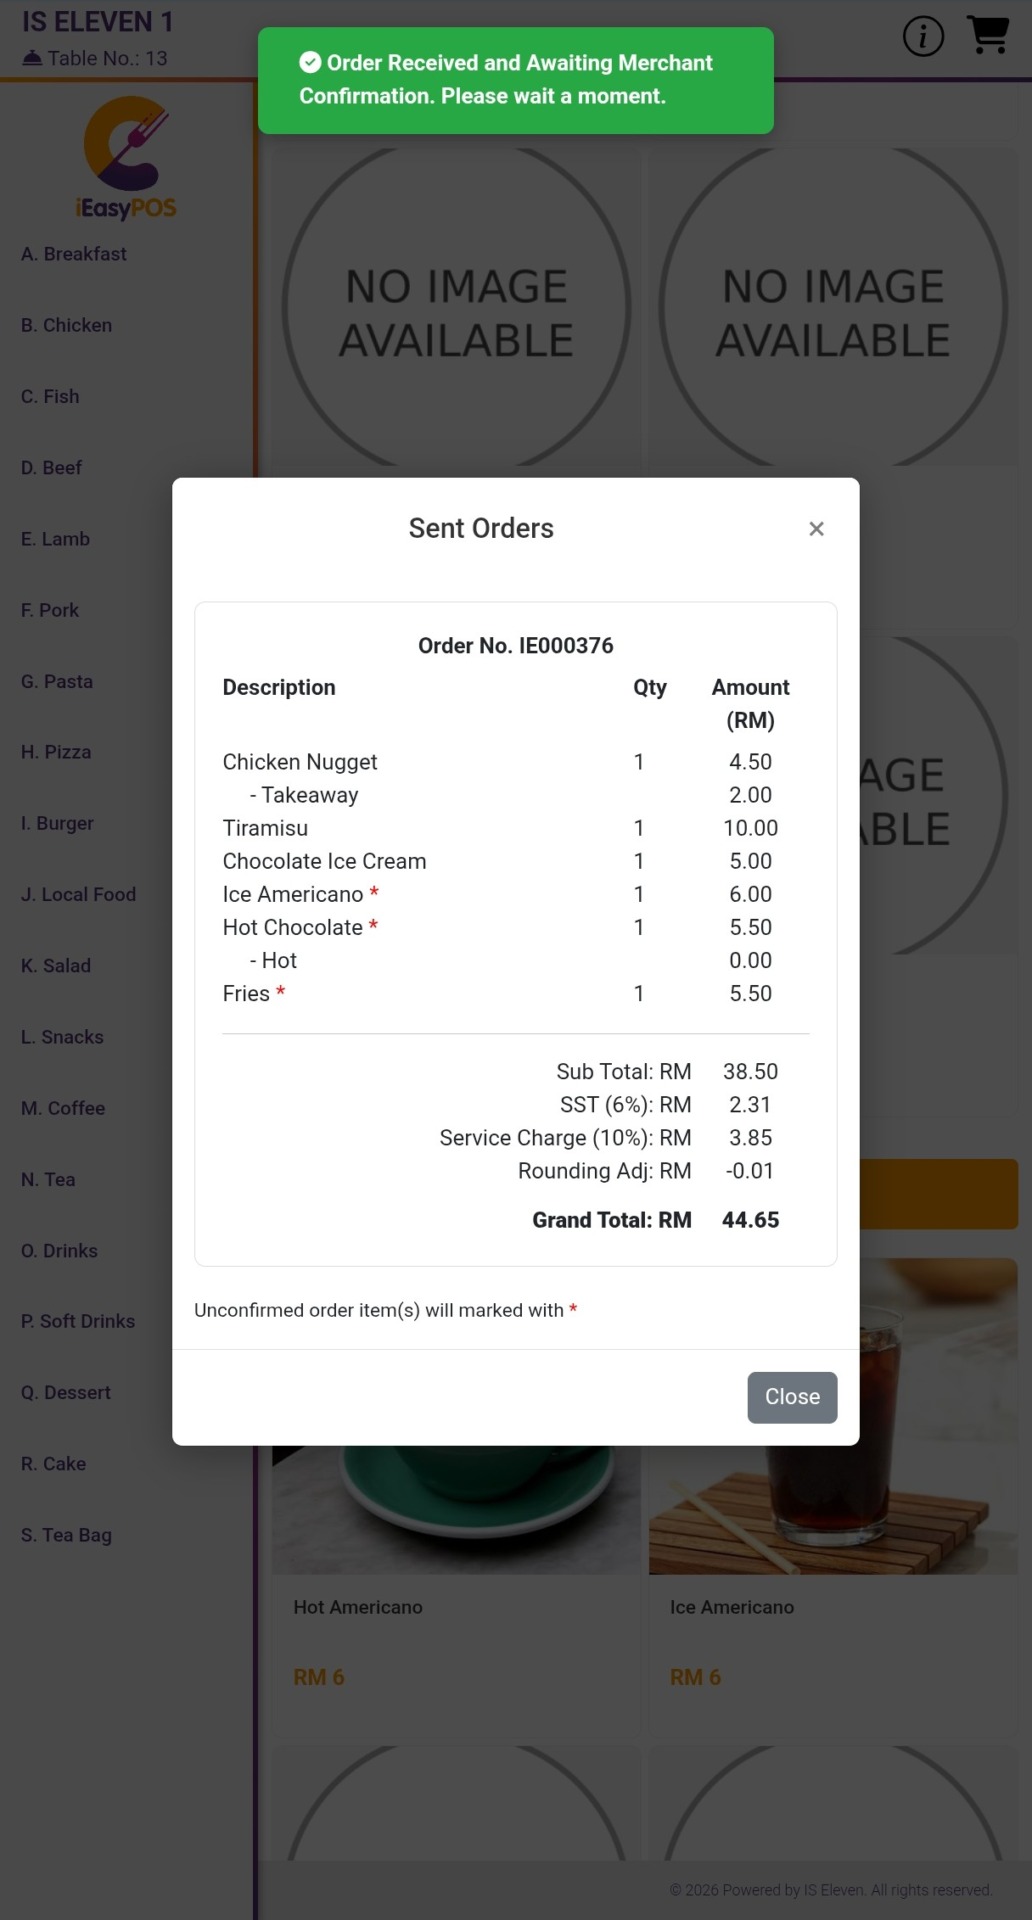
Order Received and Awaiting Merchant Confirmation. Please wait a moment.
This indicates that the merchant’s device may be offline, busy, or temporarily unreachable. Your order has been received and is awaiting confirmation. Please wait for the merchant to respond or contact the merchant directly if the delay persists.
Step 6: View Sent Orders
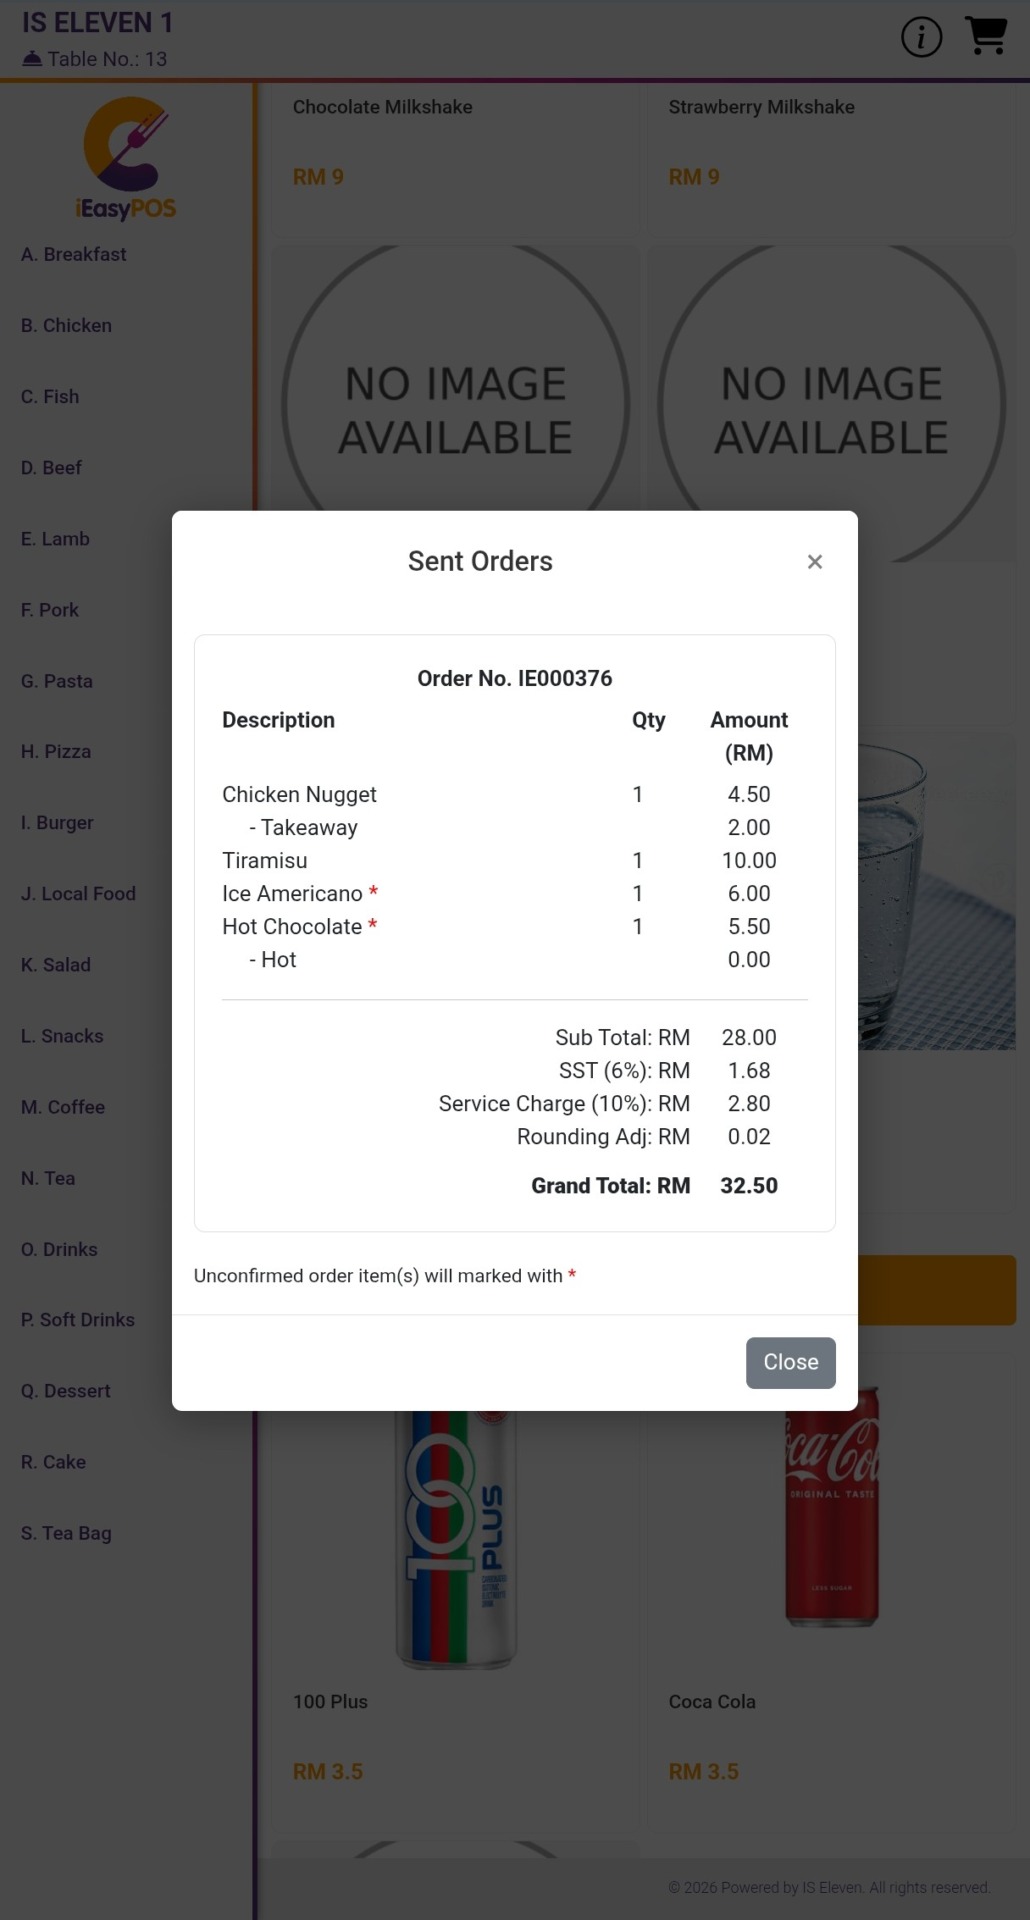
The Sent Orders page displays all orders you have placed during your current session. It allows you to monitor the status of your submitted orders and track whether they have been accepted or are still awaiting confirmation.
After an order is submitted successfully, the Sent Orders page is displayed automatically.
You can also open the Sent Orders page manually at any time:
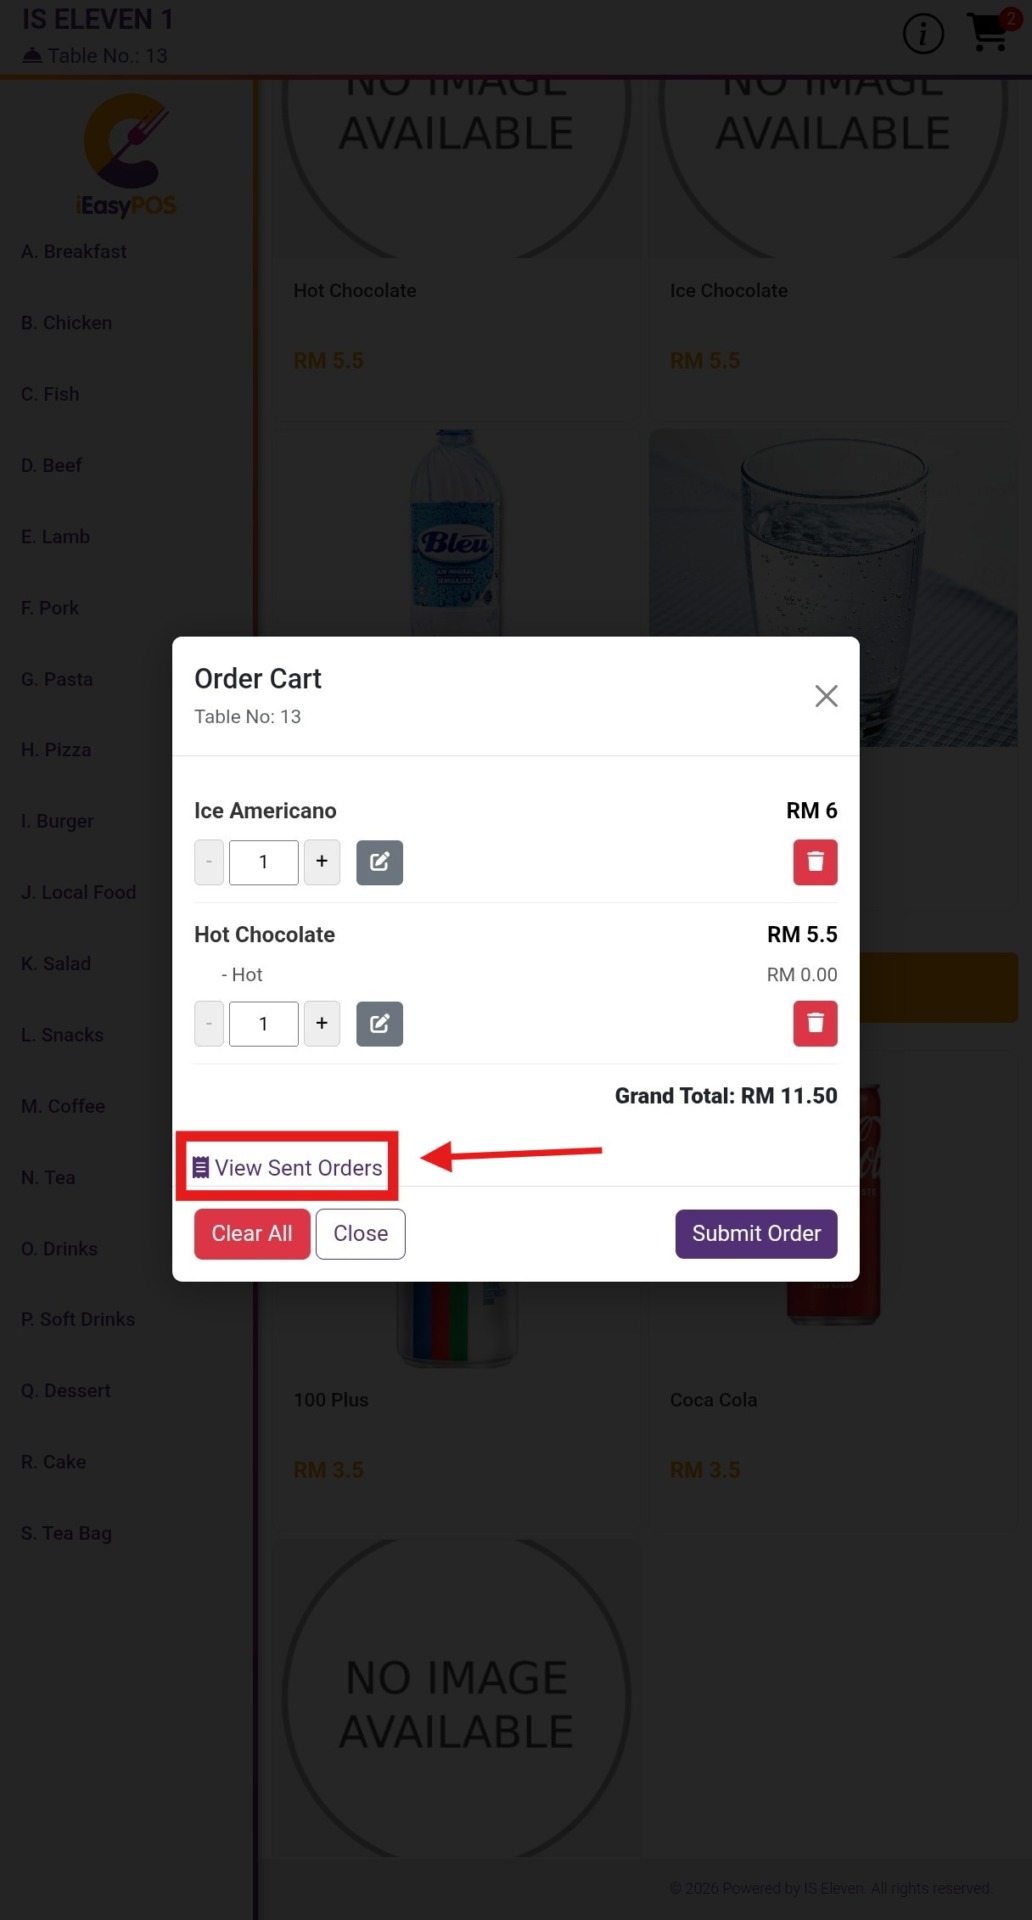
- Click the Cart icon in the page header to open the shopping cart.
- Locate the View Sent Orders link or button at the bottom-left of the shopping cart.
- Click View Sent Orders to view your order history.
Order Status
Each submitted order items displays its current status.
- Order items marked with a red asterisk (*) are pending confirmation. This means the order item has been sent successfully but has not yet been approved by the merchant’s POS device. The merchant’s device may be offline, busy, or has not yet processed the order.
- Once the merchant approves the order, the order status will be updated automatically to reflect the latest confirmation status.


